

Overview
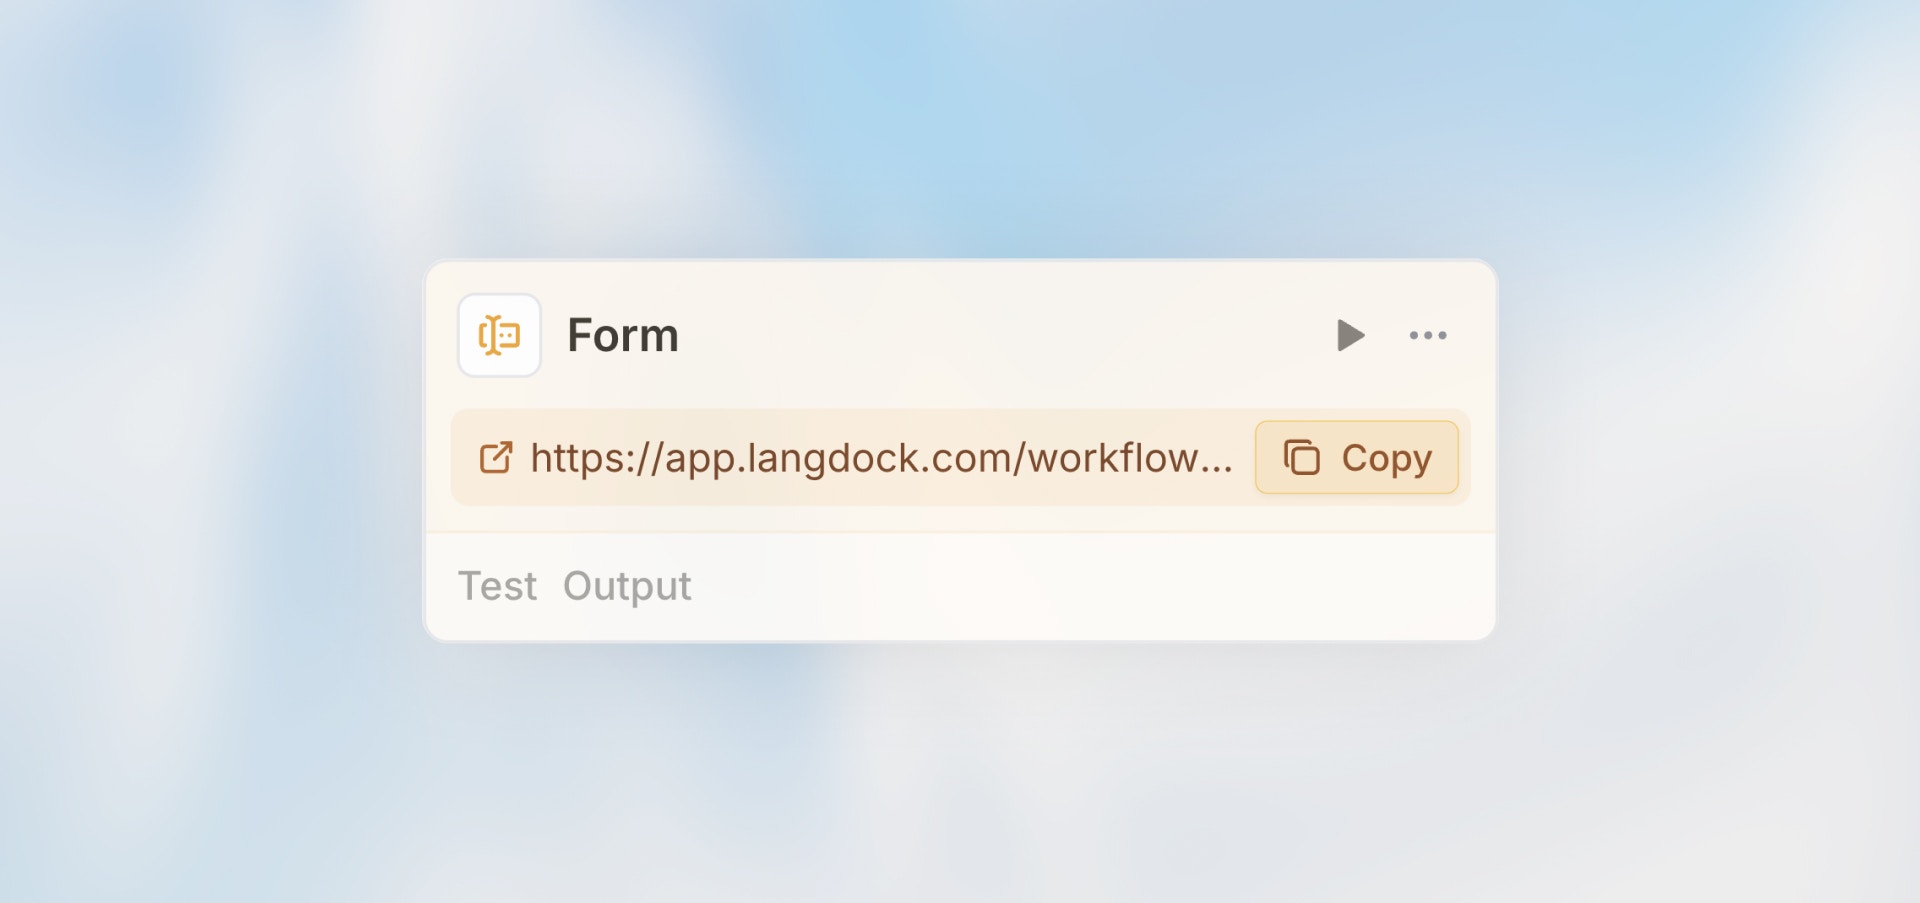
The Form Trigger creates a custom web form that starts your workflow when submitted. It’s perfect for collecting information from users - whether they’re internal team members or external customers - and automatically processing that data.Best for: Intake forms, data collection, customer requests, feedback
gathering, and application submissions.
When to Use Form Trigger
Perfect for:- Customer feedback or support request forms
- Internal request forms (IT tickets, access requests)
- Application or registration forms
- Survey responses that need processing
- Data collection from non-technical users
- System-to-system integrations (use Webhook Trigger)
- Scheduled recurring tasks (use Scheduled Trigger)
- Processing existing data (use Manual Trigger)
Configuration
Basic Setup
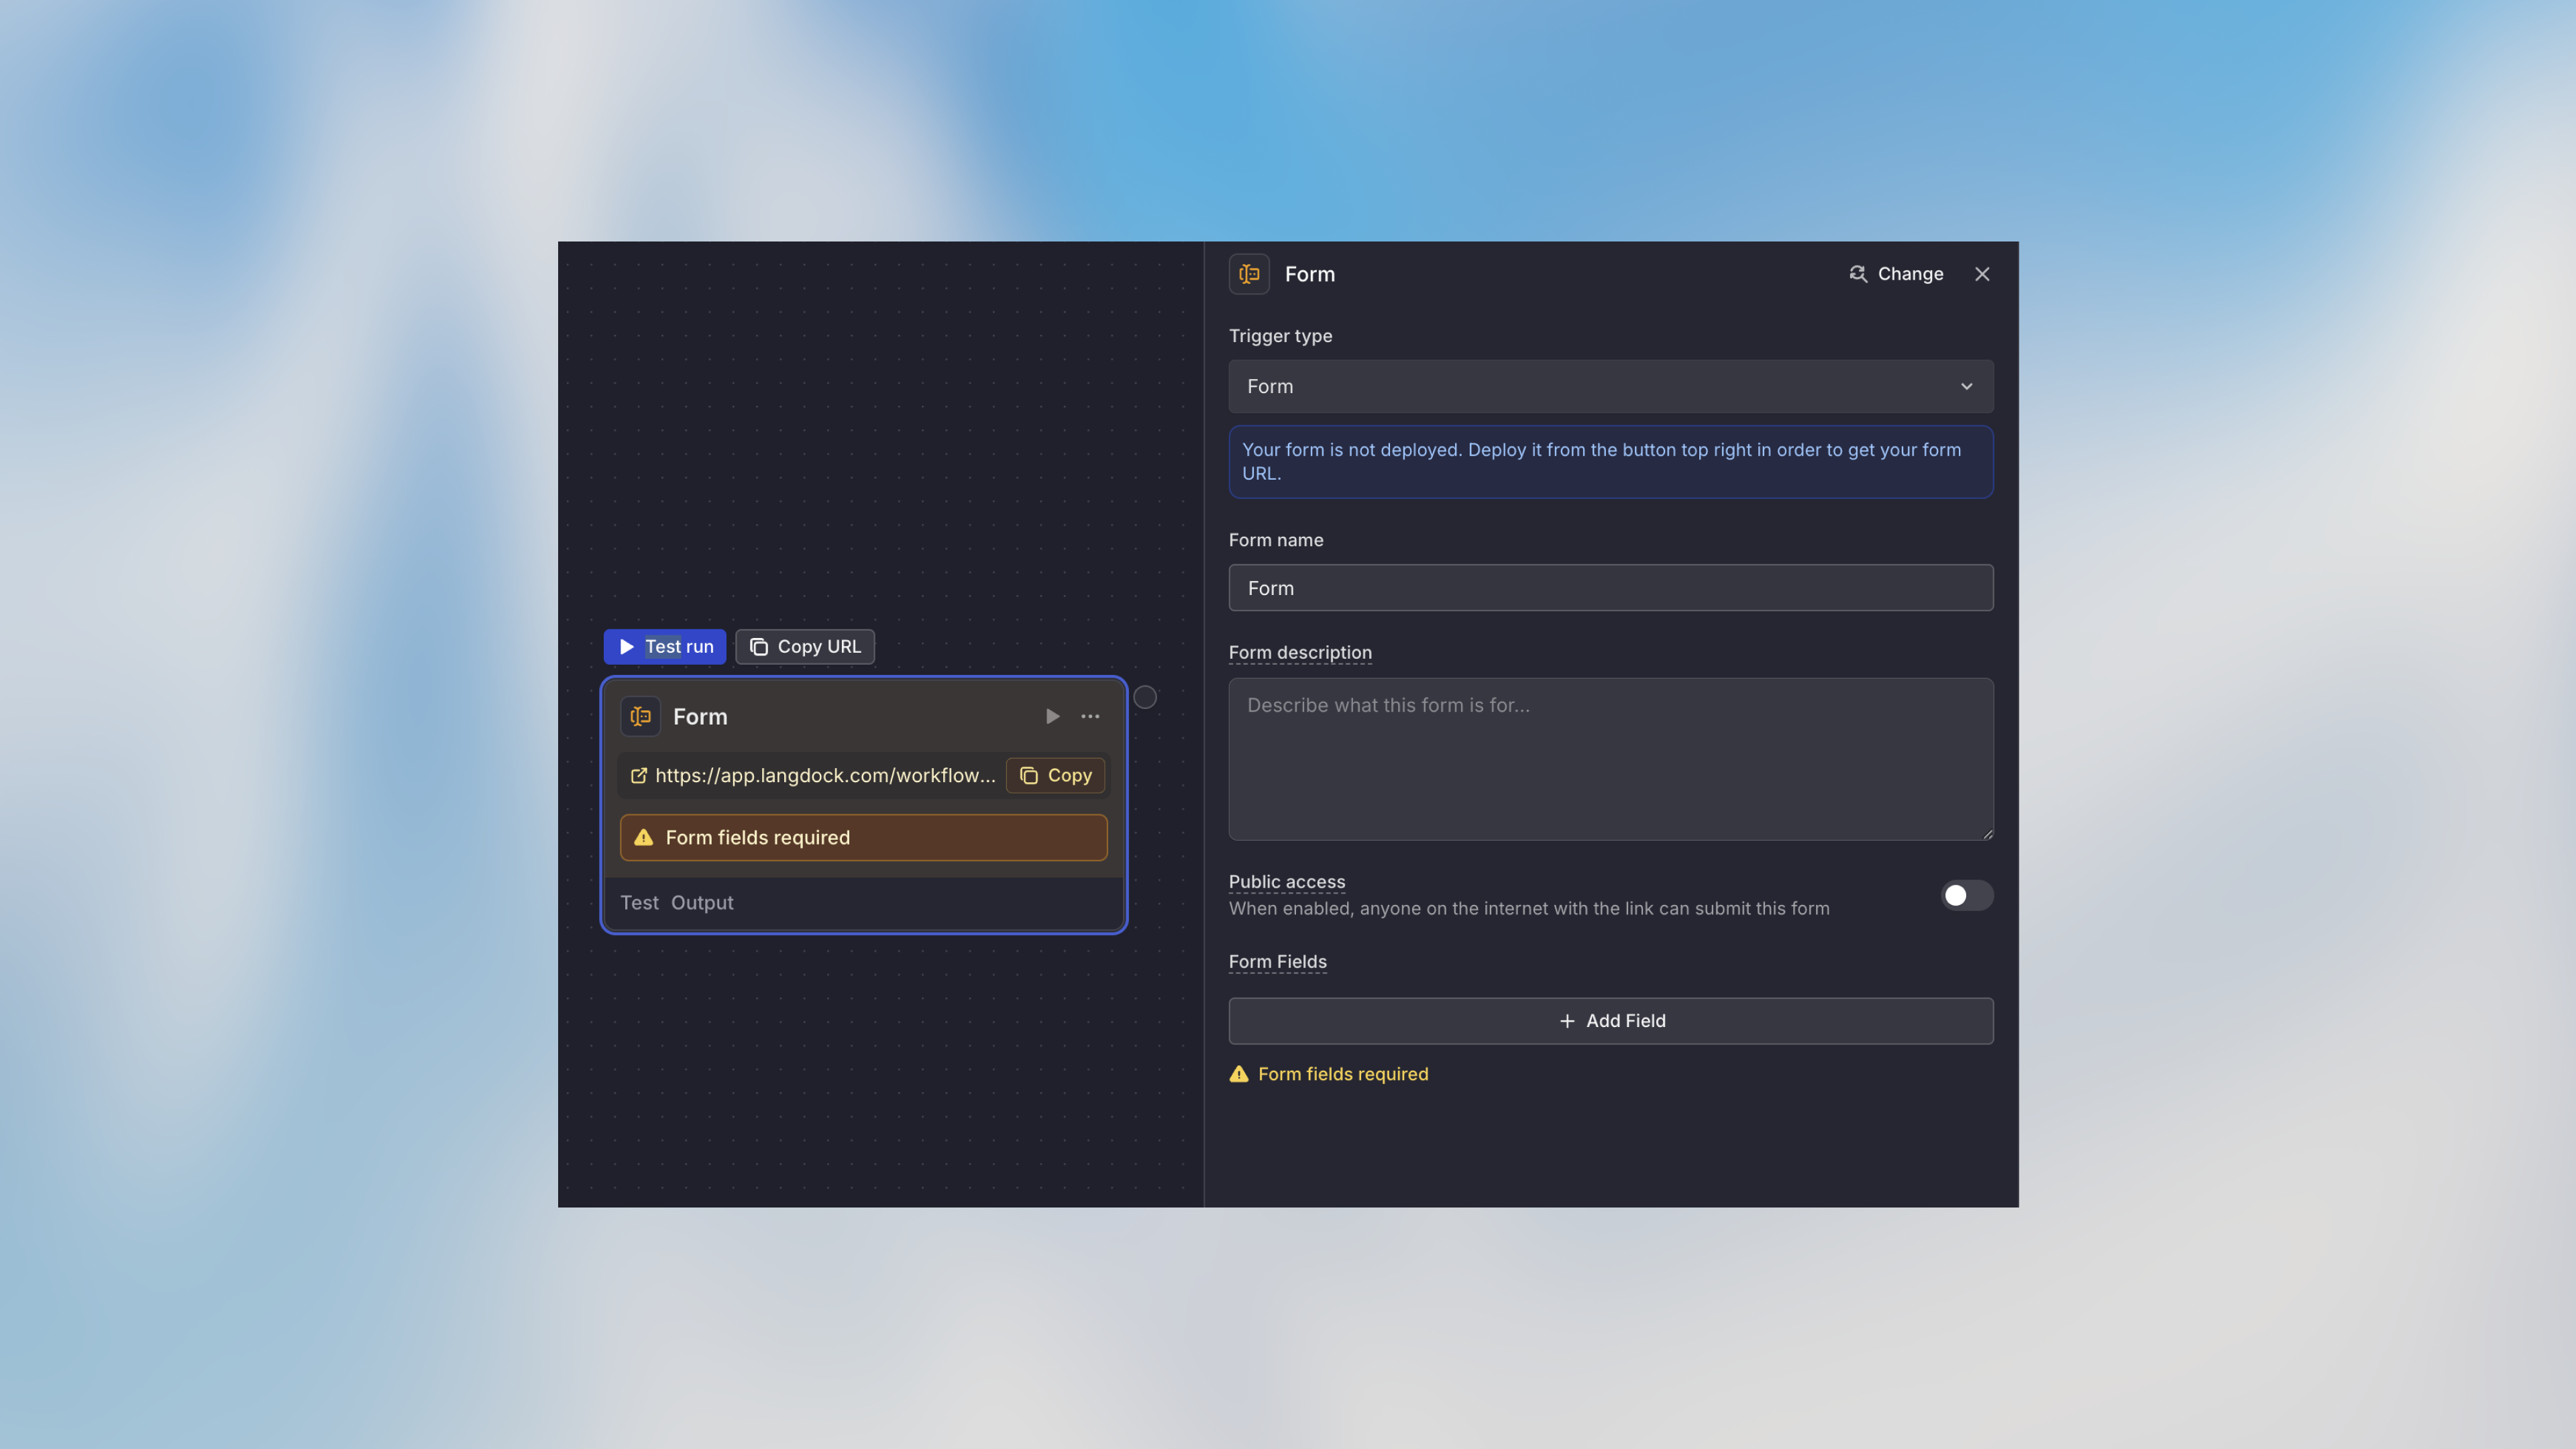
- Form Title: Give your form a descriptive name
- Description: Optional subtitle or instructions
- Thank You Message: Message shown after successful submission
Field Types
Add fields to collect specific data:Field Configuration
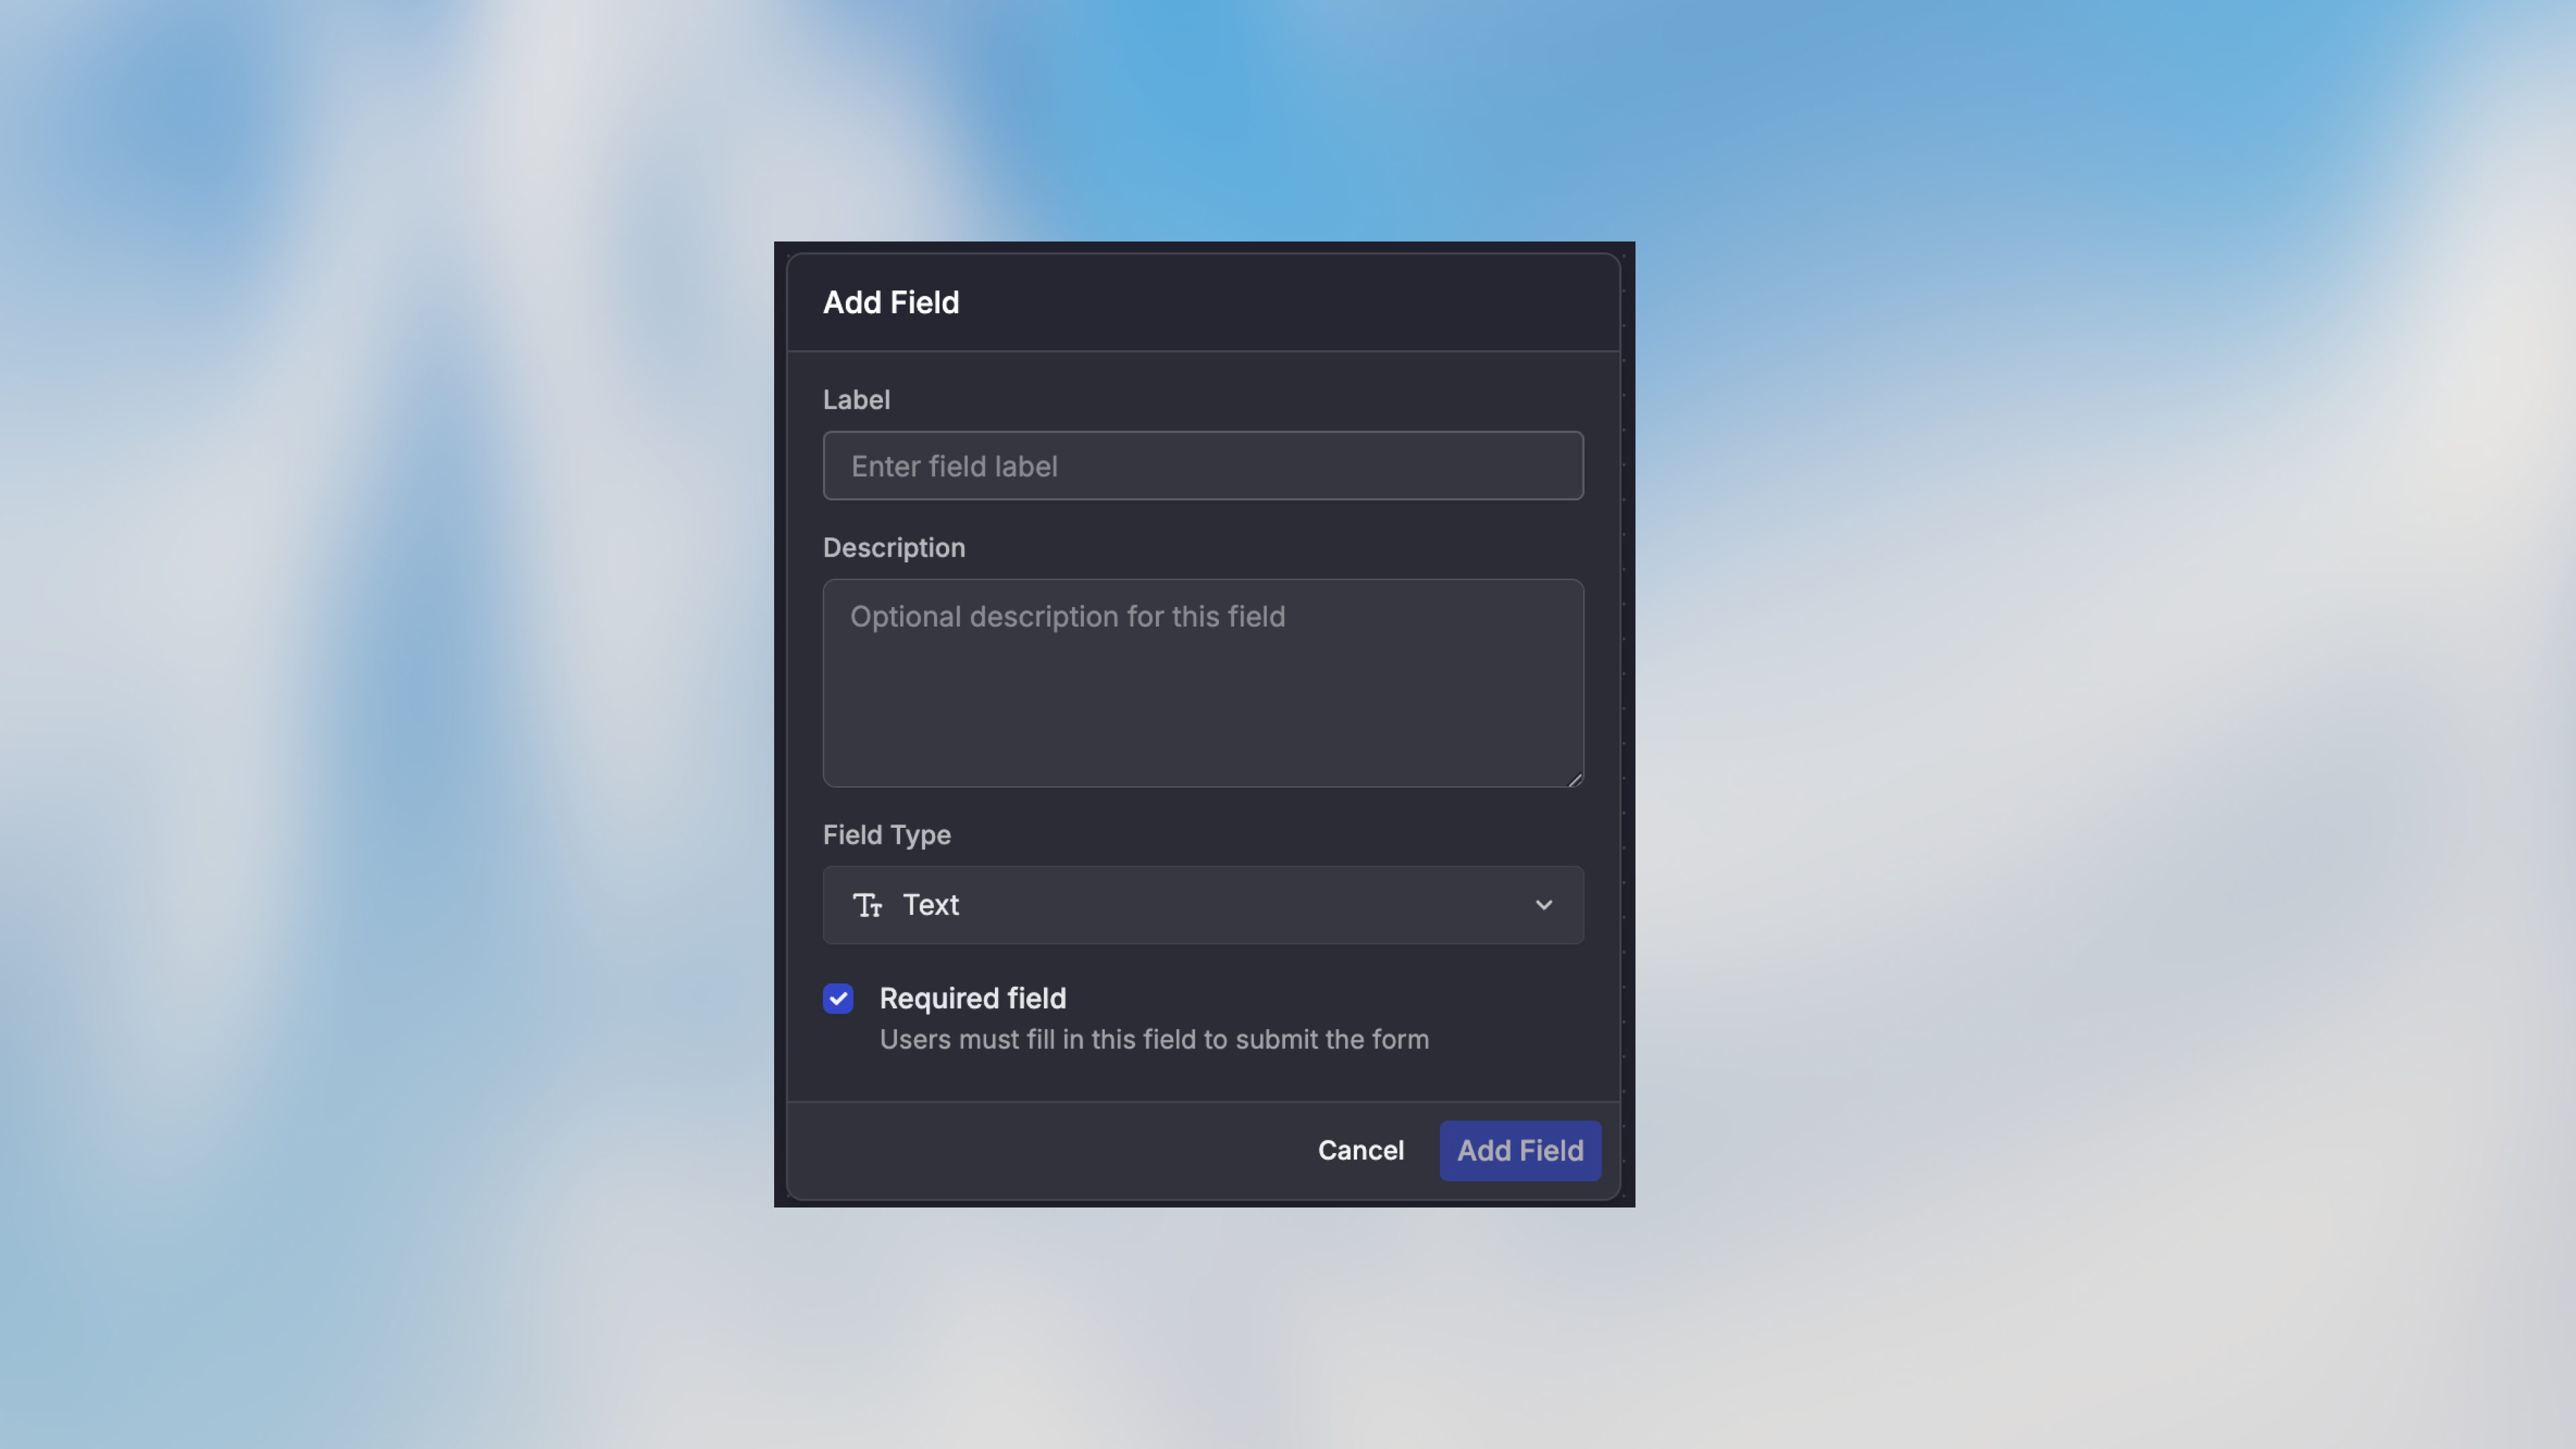
- Field Name: Internal identifier (use snake_case:
customer_name) - Label: Display text shown to users
- Description: Optional help text
- Required: Whether the field must be filled
- Allowed email domains: For Email fields, restrict submissions to one or more email domains (comma-separated)
How It Works
- Form URL is generated automatically
- User fills out the form fields
- Form validates all required fields and formats
- On submission, workflow starts with form data
- User sees the thank you message
- Form data is available in the workflow via
{{trigger.output.field_name}}
Example Use Cases
Customer Feedback Form
IT Support Request
Job Application
Accessing Form Data
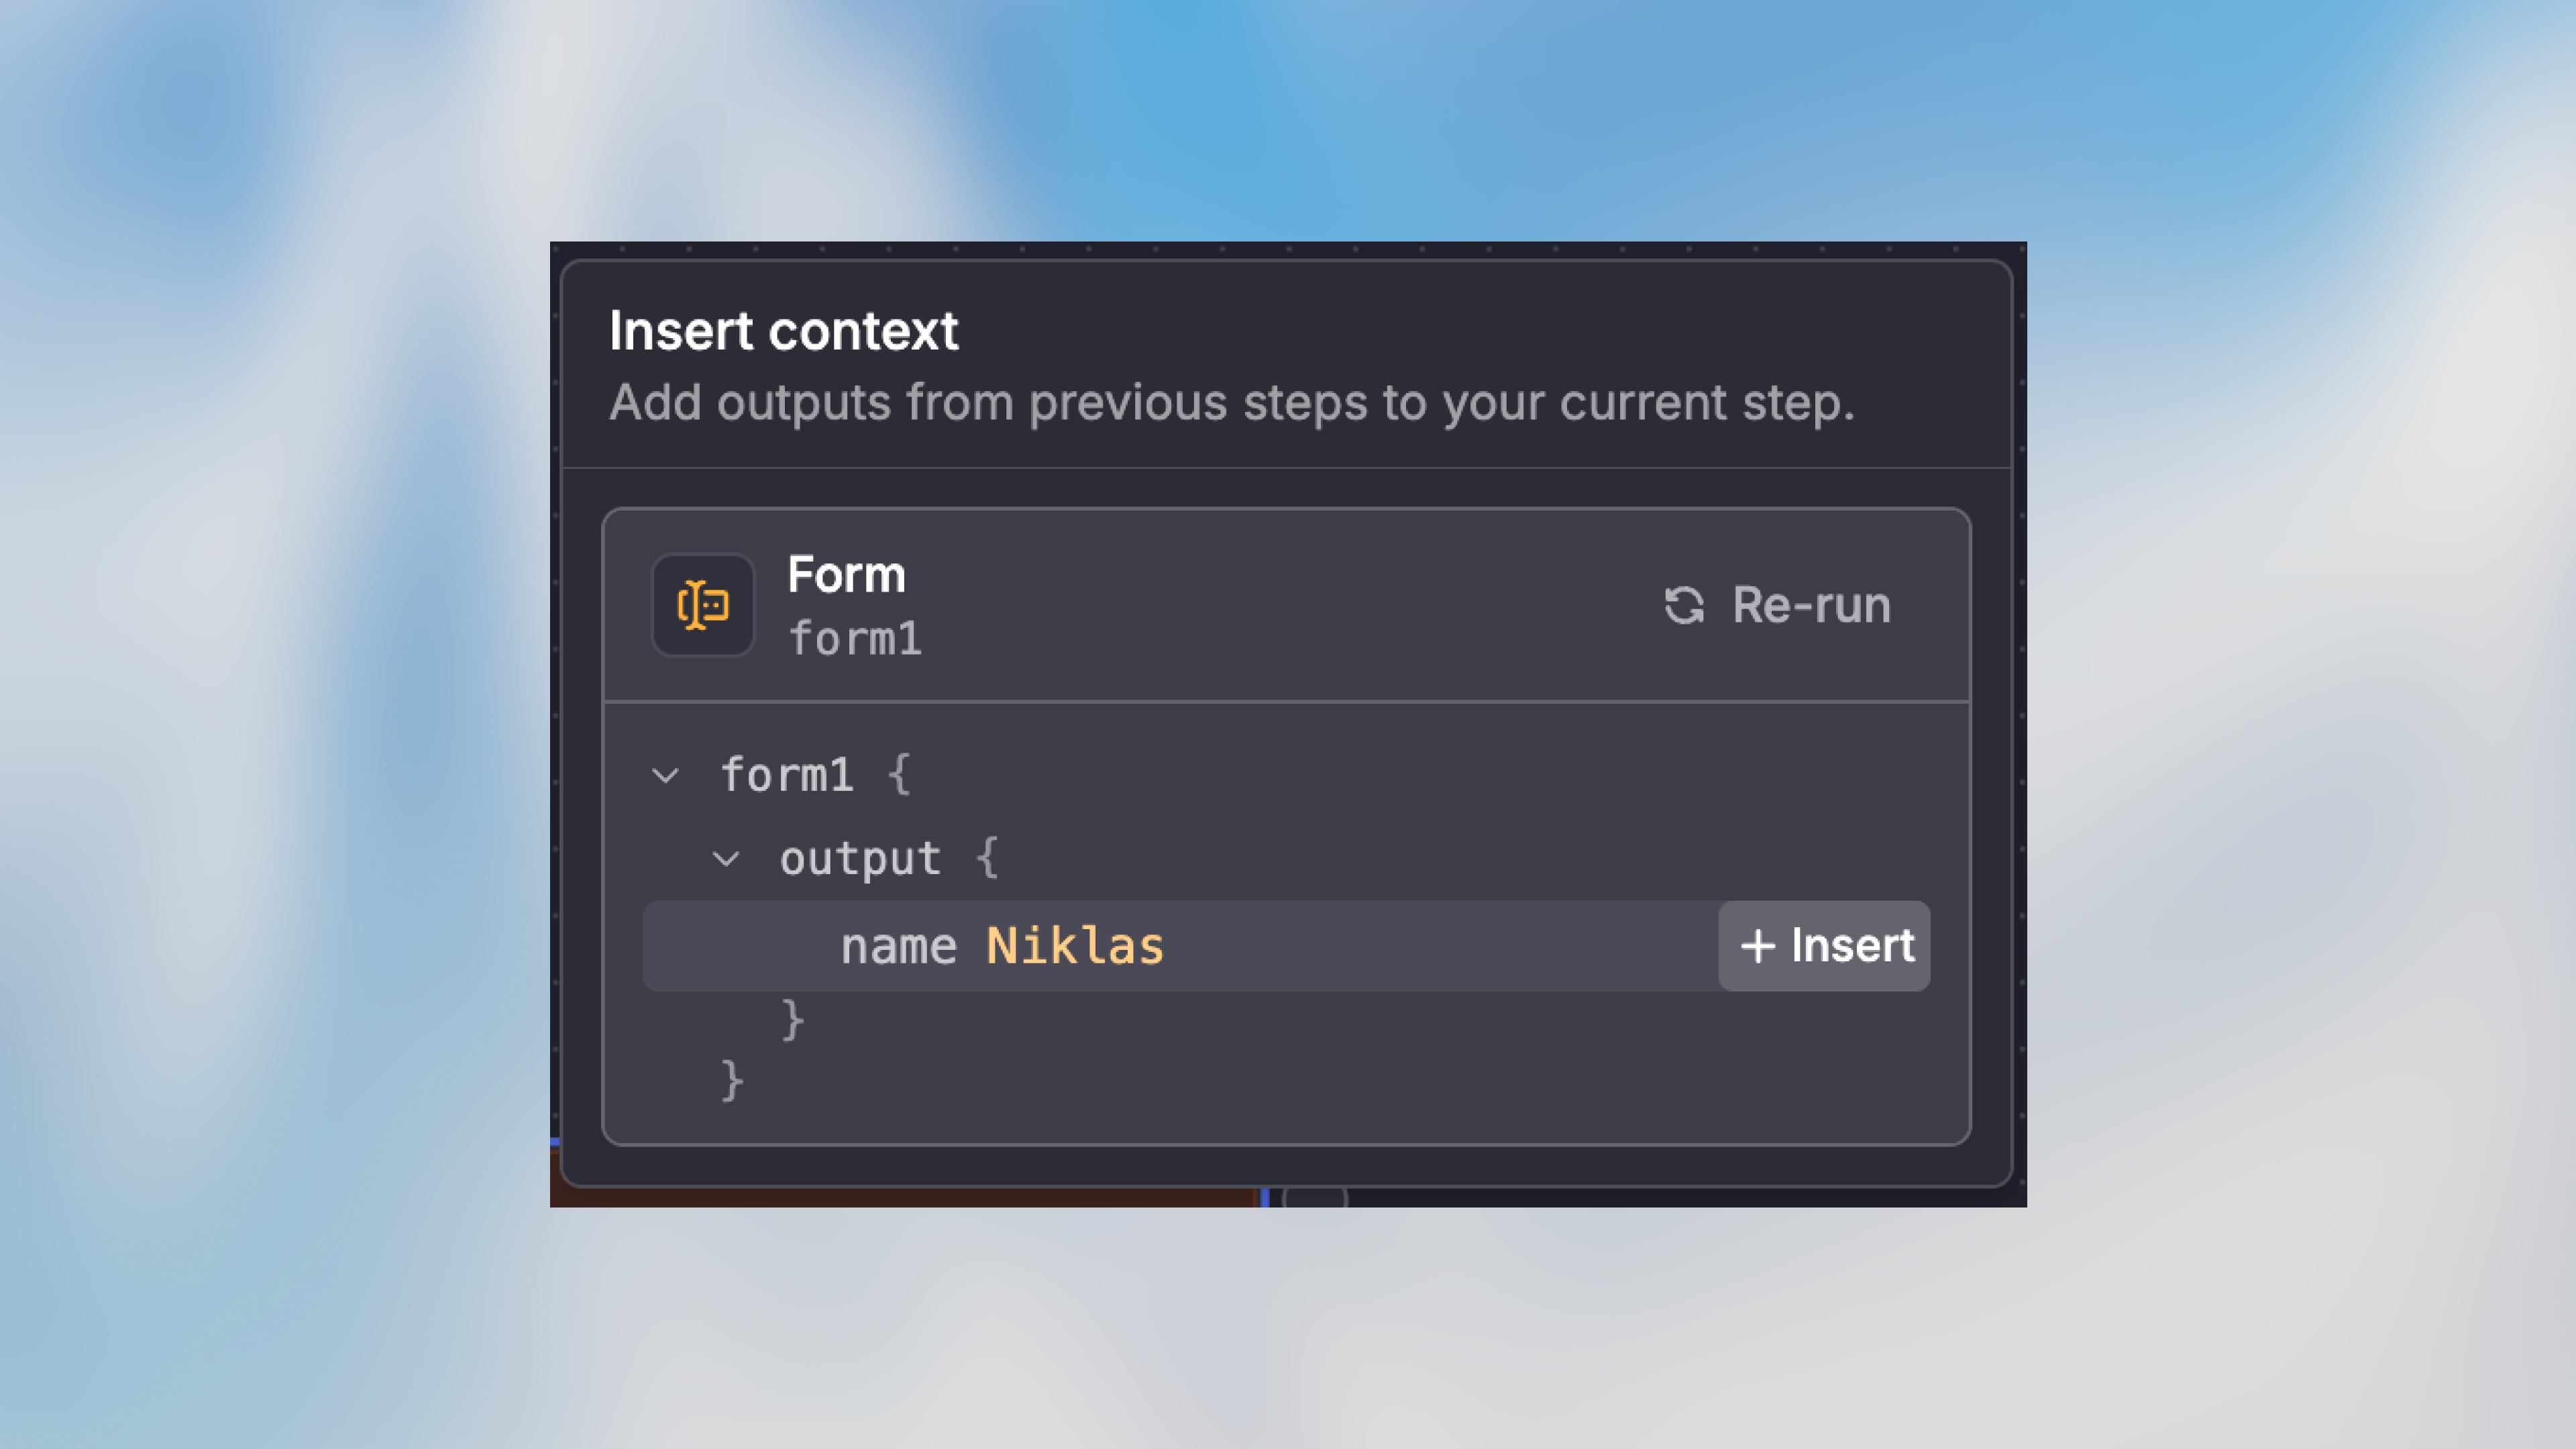
trigger variable to access submitted data:
File Uploads
File upload fields contain a list of file objects. Access the file metadata:resume with your file field name.
To read the contents of uploaded files, use a Python Code node. See Read Files from Previous Nodes.
Sharing Your Form
Copy Form URL
- Click on the Form Trigger node
- Click “Copy URL” in the node toolbar
- Share the URL via email, chat, or a link on your website
- The URL is publicly available when it was configured like that
Embedding Options
Direct Linkhttps://example.com. Copy the iframe snippet from that section. The form does not load in an iframe until the domain is listed.
Best Practices
Keep Forms Short
Keep Forms Short
Only ask for essential information. Long forms have higher abandonment rates. You can always collect additional details later in the workflow.
Use Clear Labels
Use Clear Labels
Field labels should clearly indicate what information is needed. Add description text for fields that might be confusing.
Set Appropriate Defaults
Set Appropriate Defaults
Pre-fill fields with sensible defaults when possible to reduce user effort.
Test the User Experience
Test the User Experience
Submit test forms yourself to ensure the experience is smooth and instructions are clear.
Next Steps
Webhook Trigger
Receive HTTP POST requests from external systems
Agent Node
Process form submissions with AI
Getting Started
Step-by-step tutorial with form example
Field Modes
Learn about configuring form fields