

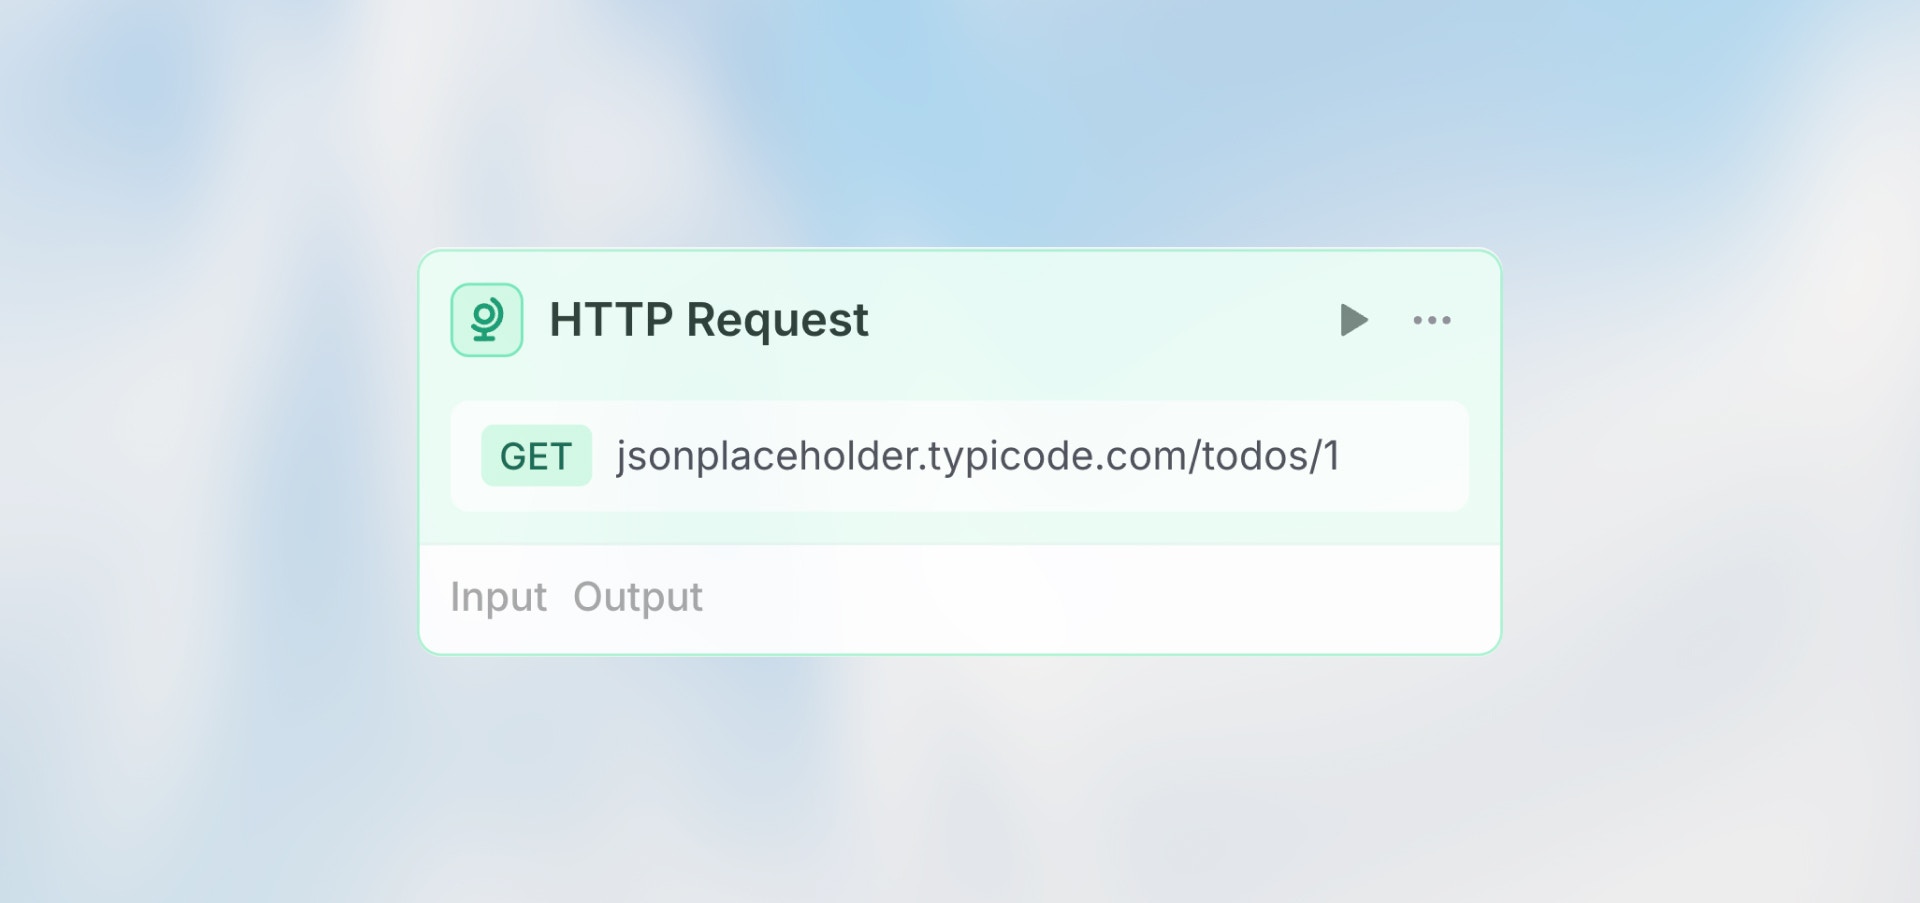
Overview
The HTTP Request node lets you call any external API - fetch data, send updates, trigger actions, or integrate with services that don’t have native integrations.Best for: Custom API integrations, fetching external data, sending
webhooks, and connecting to any HTTP-based service.
Configuration
Import from cURL
Click “Import from cURL” to paste a cURL command and automatically populate all fields (URL, method, headers, parameters). Great for quickly setting up requests from API documentation.URL (Required)
The API endpoint to call. Supports three input modes: Manual mode: Enter the URL directly with optional variablesMethod
Select the HTTP method:- GET: Fetch data
- POST: Create new resources
- PUT: Replace existing resources
- PATCH: Update existing resources
- DELETE: Remove resources
Headers
Add custom headers as key-value pairs. Common headers: Authentication:Query Parameters
Add URL query parameters as key-value pairs instead of including them in the URL. Example:Body (POST/PUT/PATCH only)
The request payload, typically JSON format. Supports variables from previous nodes.Example Use Cases
Fetch User Data (GET)
Create Record (POST)
Search with Parameters (GET)
Update Status (PATCH)
Accessing Response Data
After the HTTP Request executes, access the response in subsequent nodes:Response Status Codes
Use the status code to check if the request succeeded:Best Practices
Use Import from cURL
Use Import from cURL
If you have a working cURL command from API docs, use “Import from cURL” to automatically set up all fields correctly.
Handle Errors
Handle Errors
Always add error handling. Use a Condition node after the HTTP Request to check
{{ http_node.output.status === 200 }}.Use Query Parameters
Use Query Parameters
Add query parameters in the Parameters section instead of hardcoding them in
the URL. This makes them easier to manage.
Test with Real APIs
Test with Real APIs
Use the node’s test button to verify the request works before building the rest of your workflow.
Next Steps
Webhook Trigger
Receive HTTP requests
Code Node
Transform API responses