

Supported formats
Templates can be uploaded in the following formats:
Maximum file size: 256 MB
PDF templates you upload from your computer must be portrait. Landscape PDFs are rejected on that path. Upload the original
.pptx or .potx instead.
Browsing and using templates
Opening the template gallery
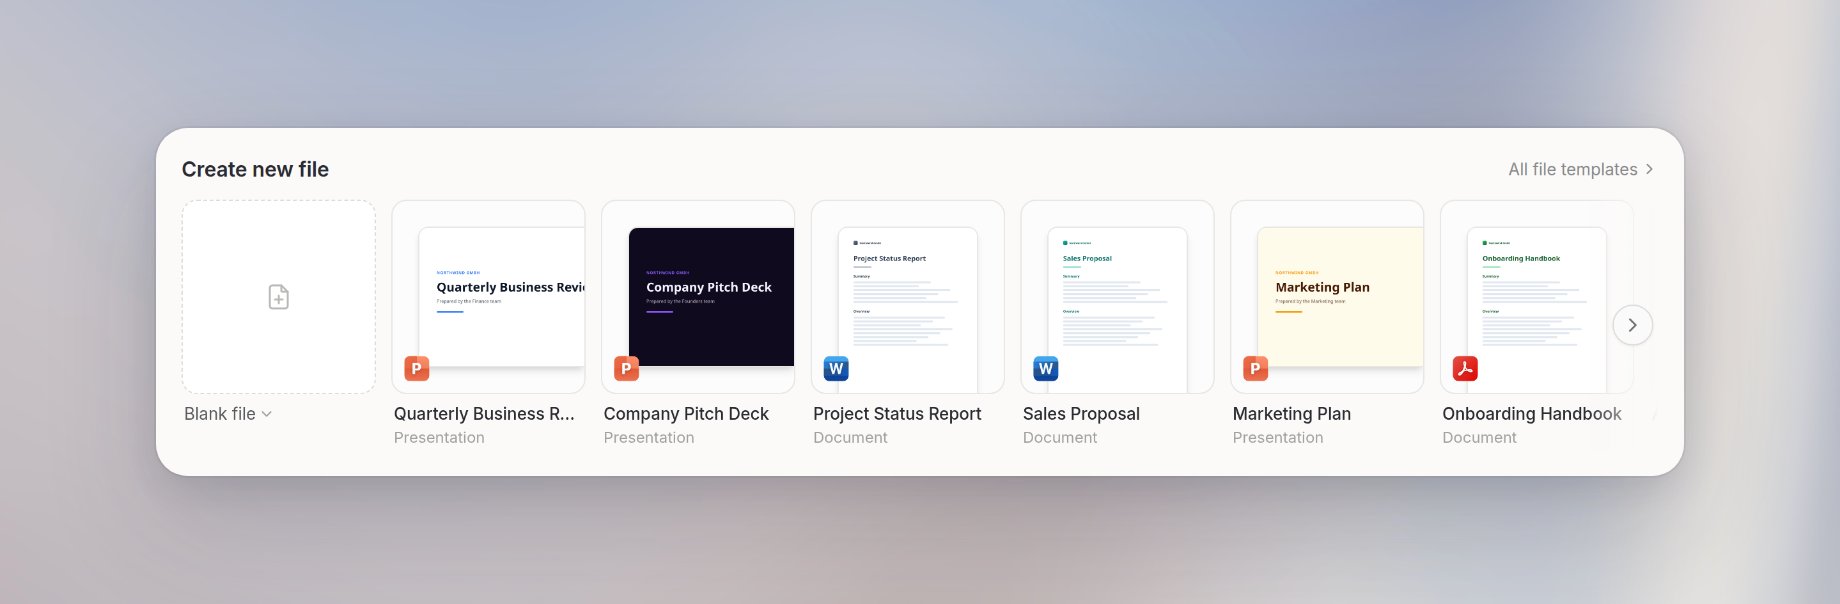
From the Library, click All file templates under Create new file to open the template gallery. If you don’t have a template yet, click Add template. You can also access templates directly when starting a new file in chat. Each mode (Create document, Create presentation) shows a Use a template section.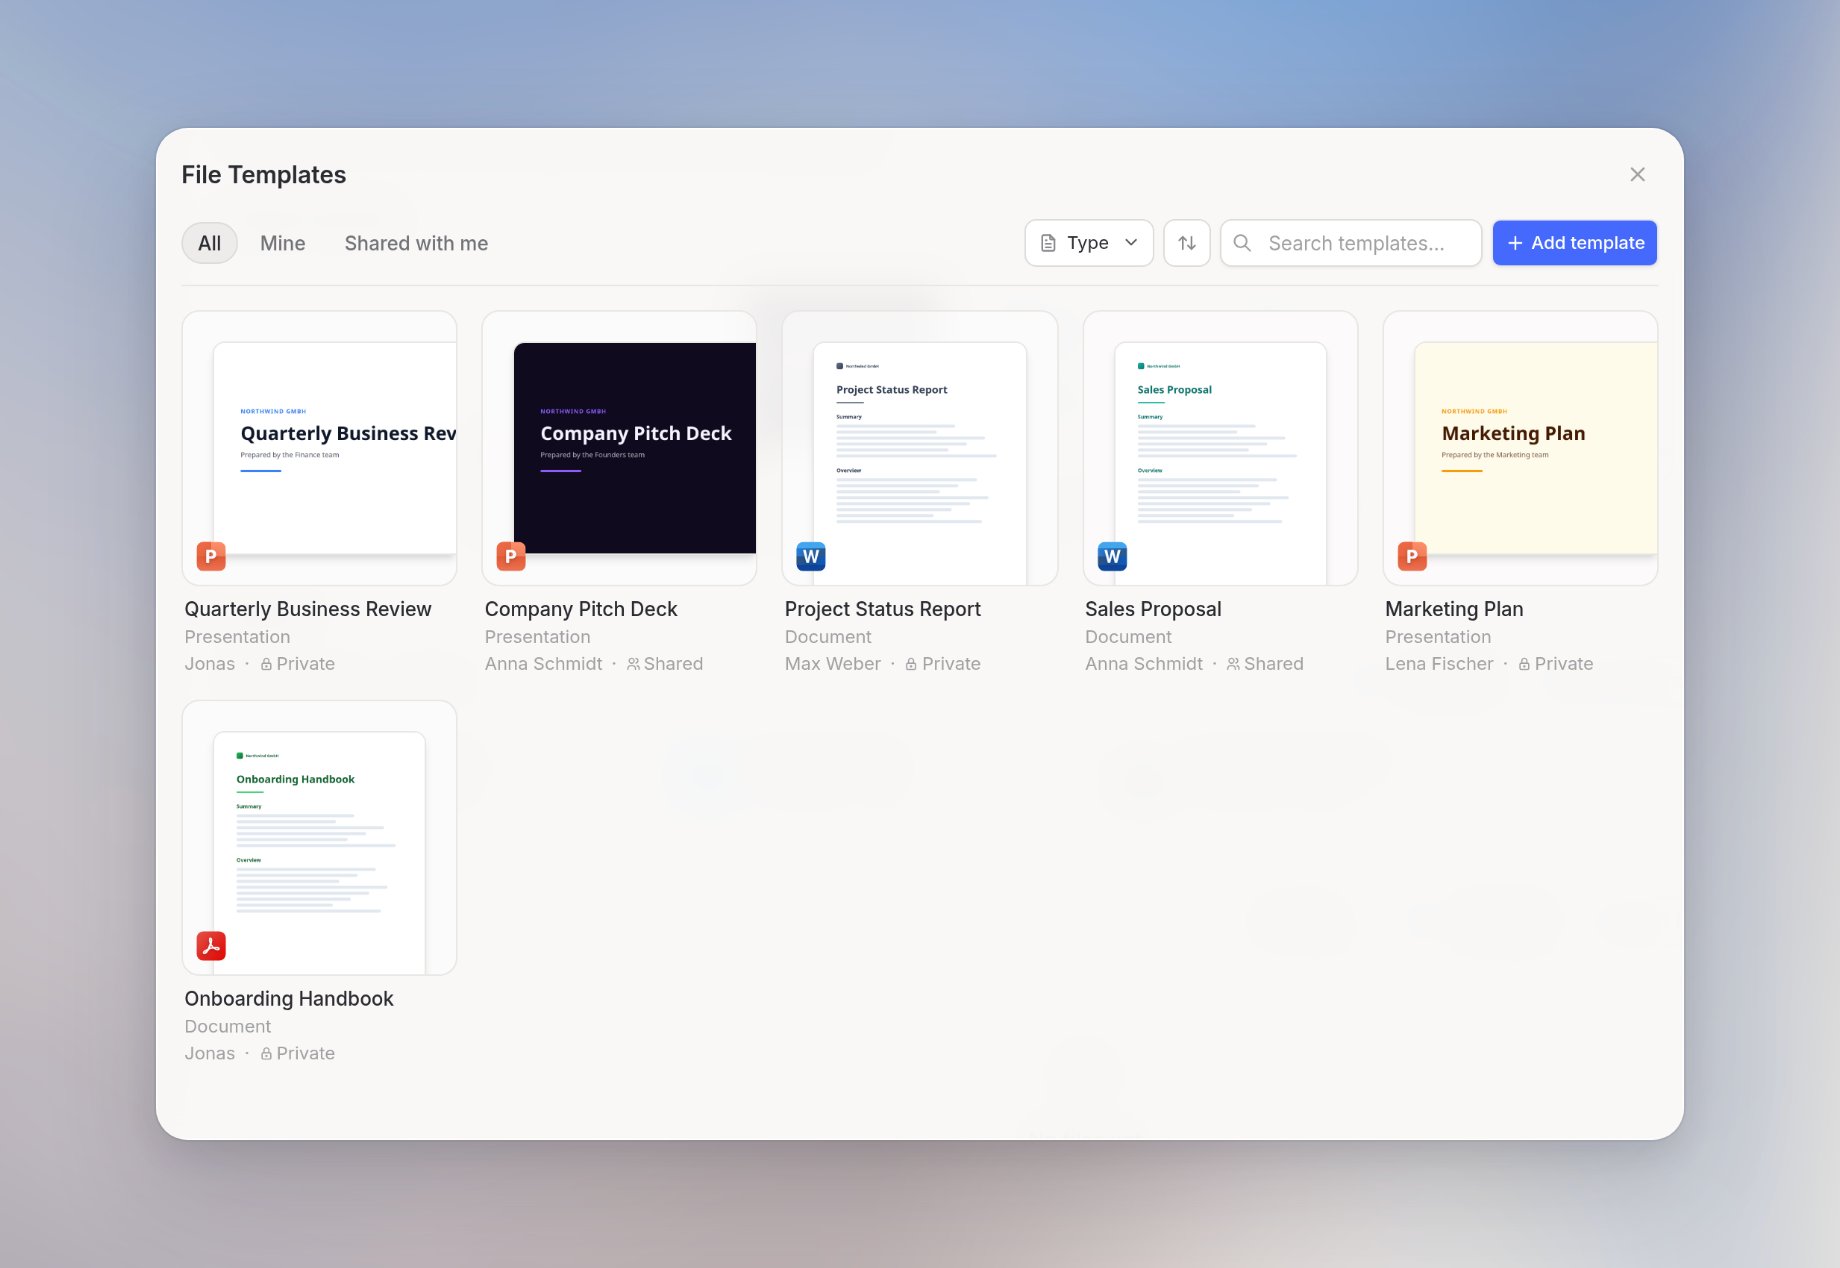
Filtering and sorting
The gallery lets you narrow down templates by:- Type: All types, Presentation, or Document
- Ownership: All, Mine, or Shared with me
- Sort: Newest, A–Z, or most used
Previewing a template
Click any template card to open a full-screen preview with a carousel of all pages. From the preview you can see the layout and content before committing to it.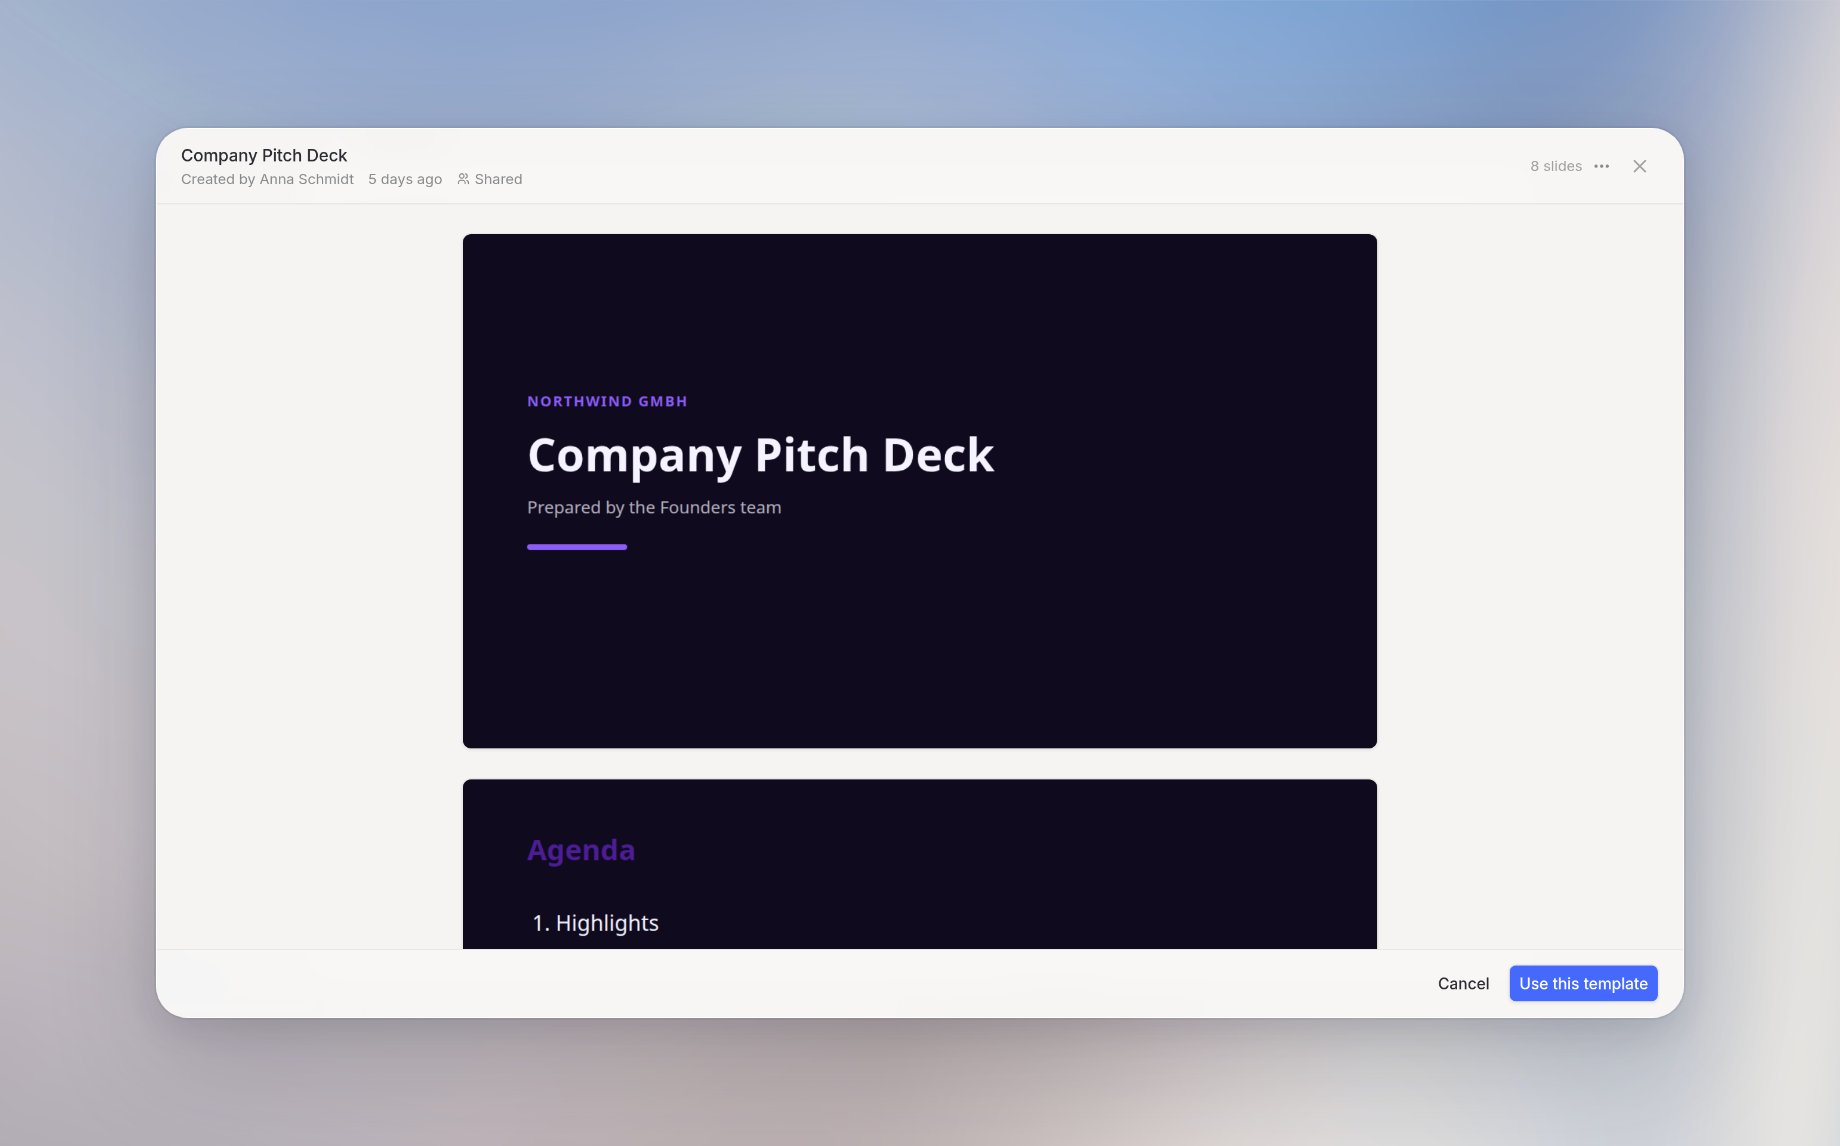
Using a template
Click Use this template in the preview to open a new chat with the template already attached. Langdock will use the template’s format and style when generating your file.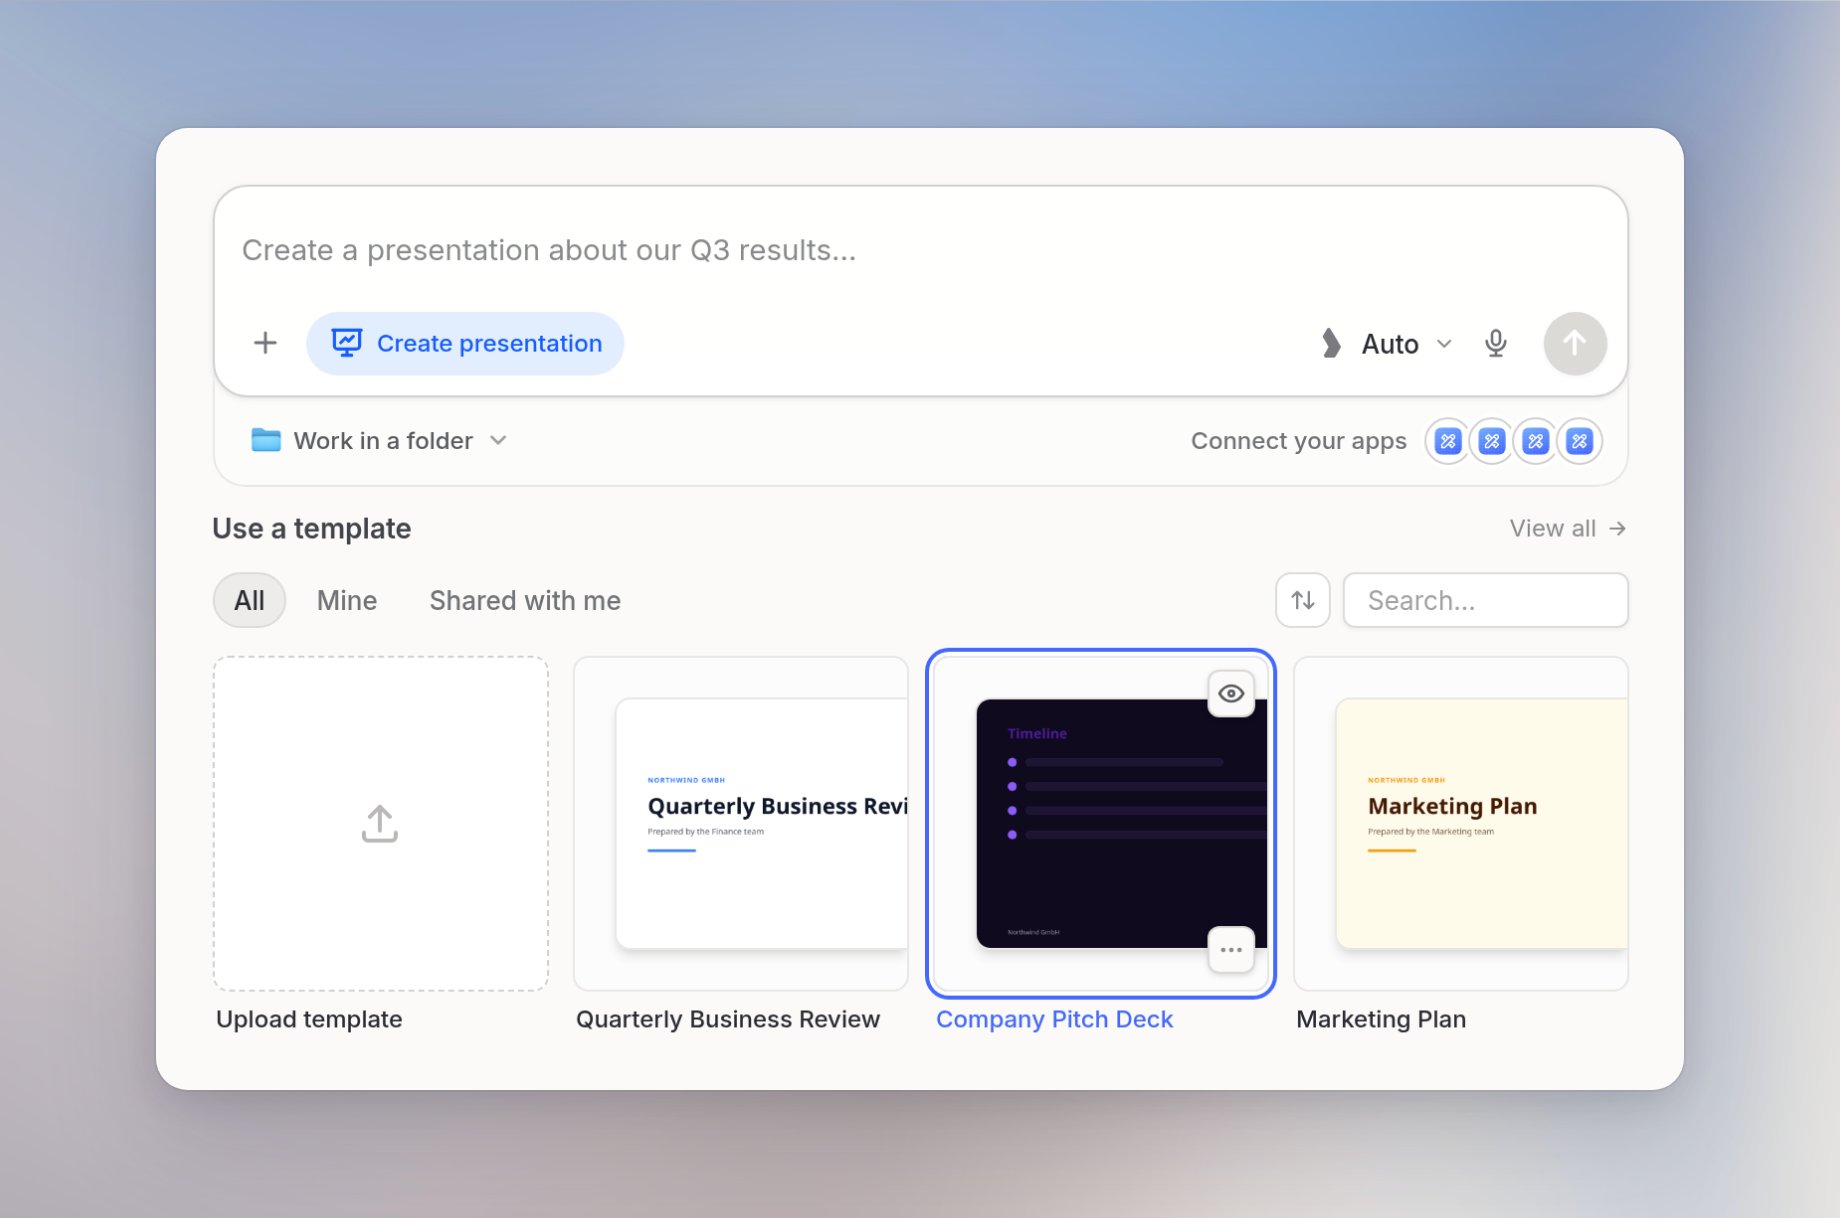
Attaching a template to an agent
You can attach file templates to an Agent so it can use them for matching document or presentation requests. In the Agent editor, open Instructions, then More, then File templates, and click Add template. After you attach one, File templates moves to its own row. Click the X on a template chip to remove it. Alternatively, ask in the Agent Builder chat: “Attach the quarterly report template to this agent” or “Remove the pitch deck template”. The builder searches templates you have access to, attaches matching ones, and shows the change inline.Uploading a template
1
Open the template gallery
In the Library, click All file templates to open the gallery, then click the + button (Add template). You can also drag and drop a file directly onto the gallery dialog.
2
Upload your file
You have two ways to provide the file: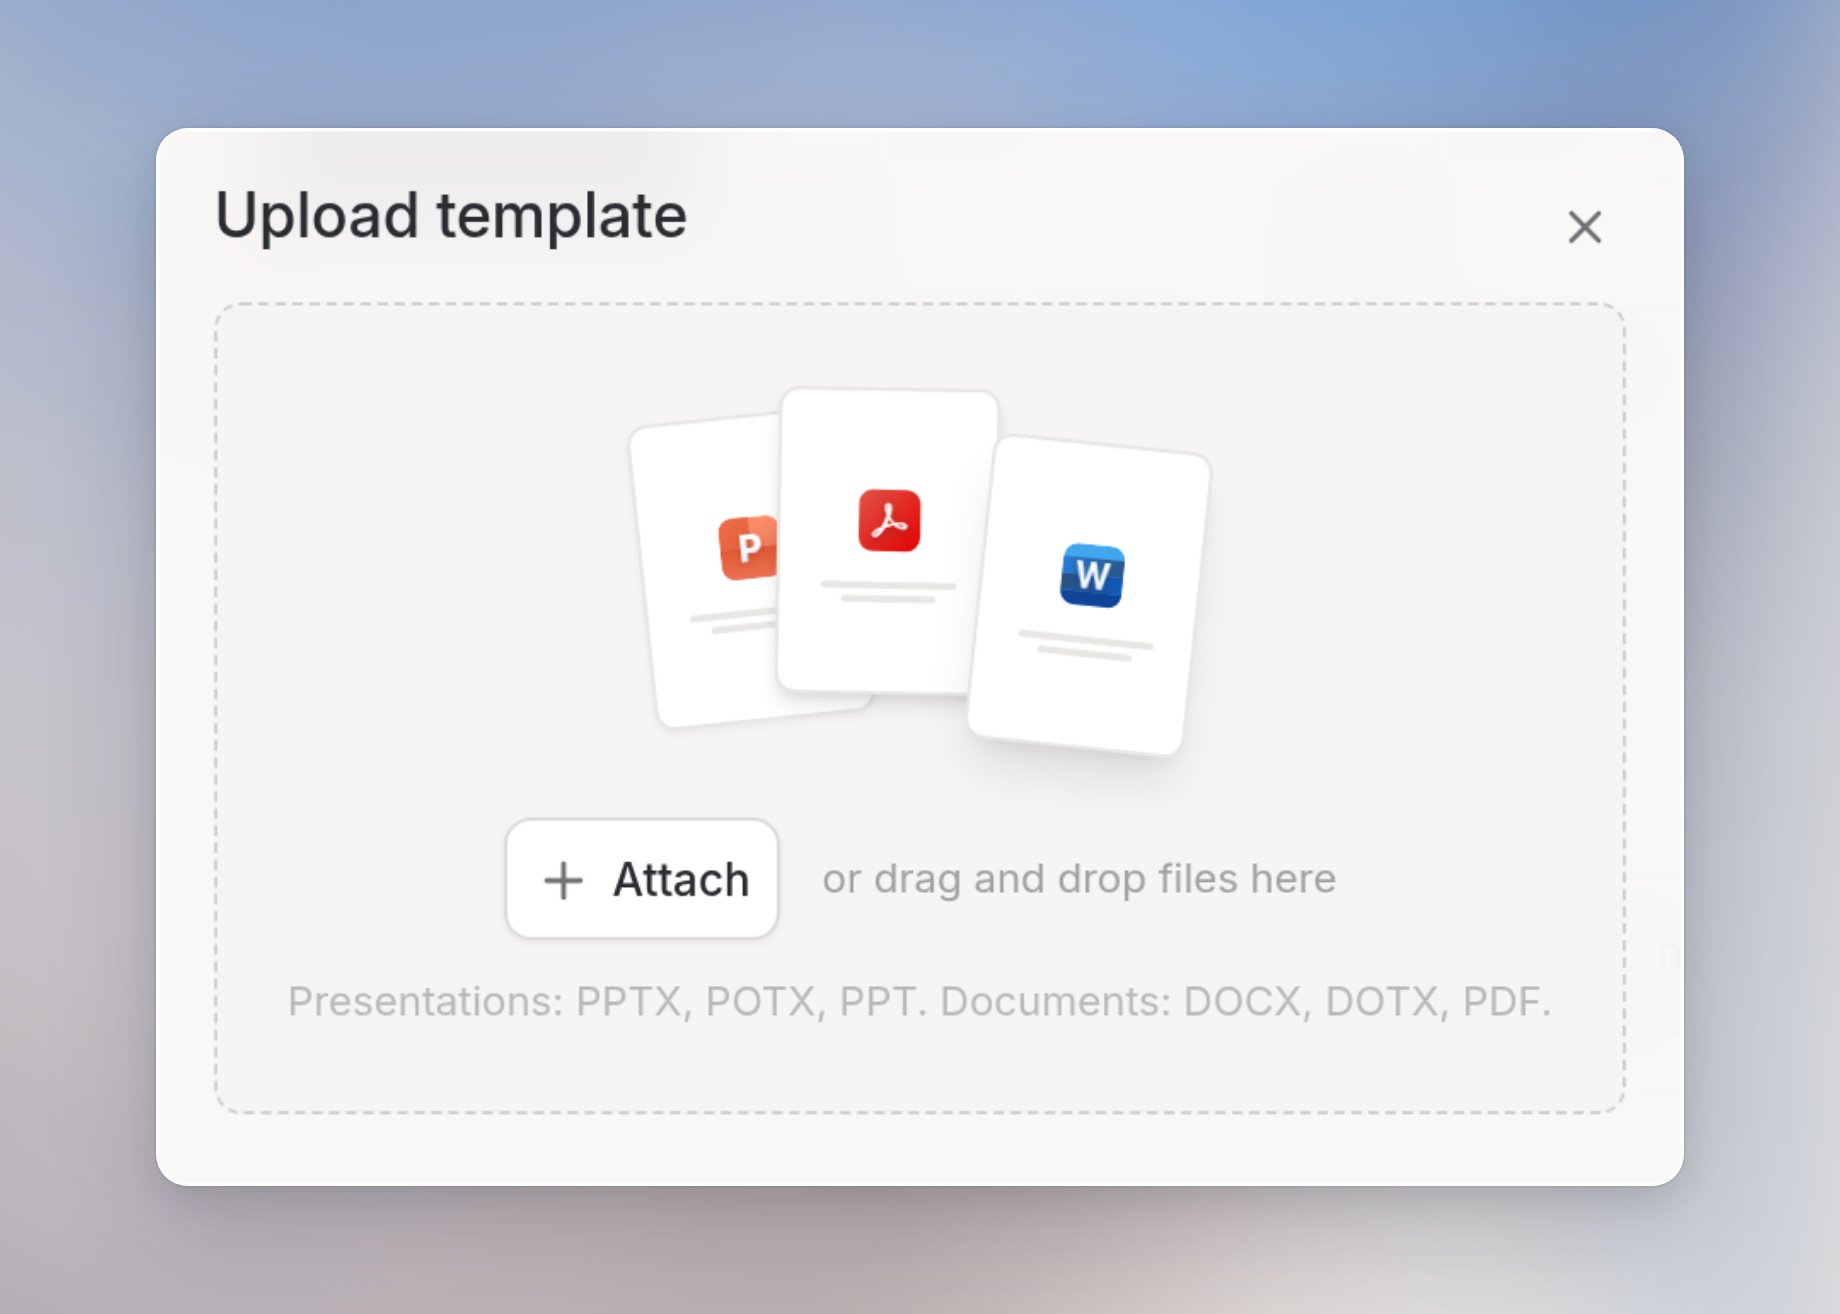
- From your computer: select a file directly. Supported formats:
.pptx,.ppt,.potx,.docx,.dotx,.pdf(max 256 MB). - From a connected integration: import from Google Drive, OneDrive, or another connected source using the integration picker in the upload dialog.
3
Wait for analysis
Langdock analyzes the file and suggests instructions. The template name is taken from the filename. This takes a moment. You’ll see a progress indicator while it runs.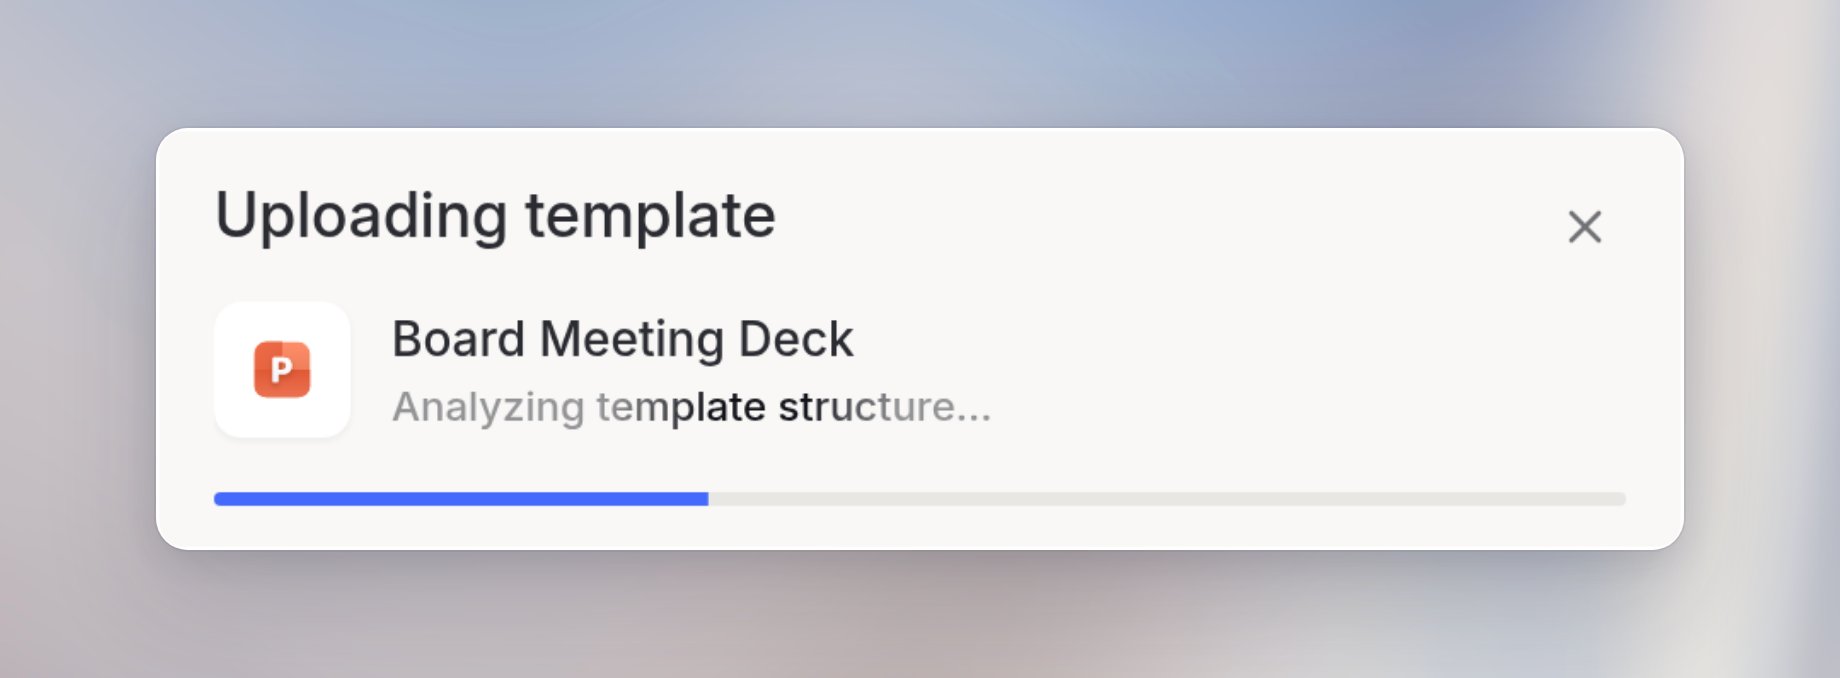
4
Review and save
Check the name and instructions, edit them if needed, and click Save. The template is now available in the gallery for you and anyone you share it with.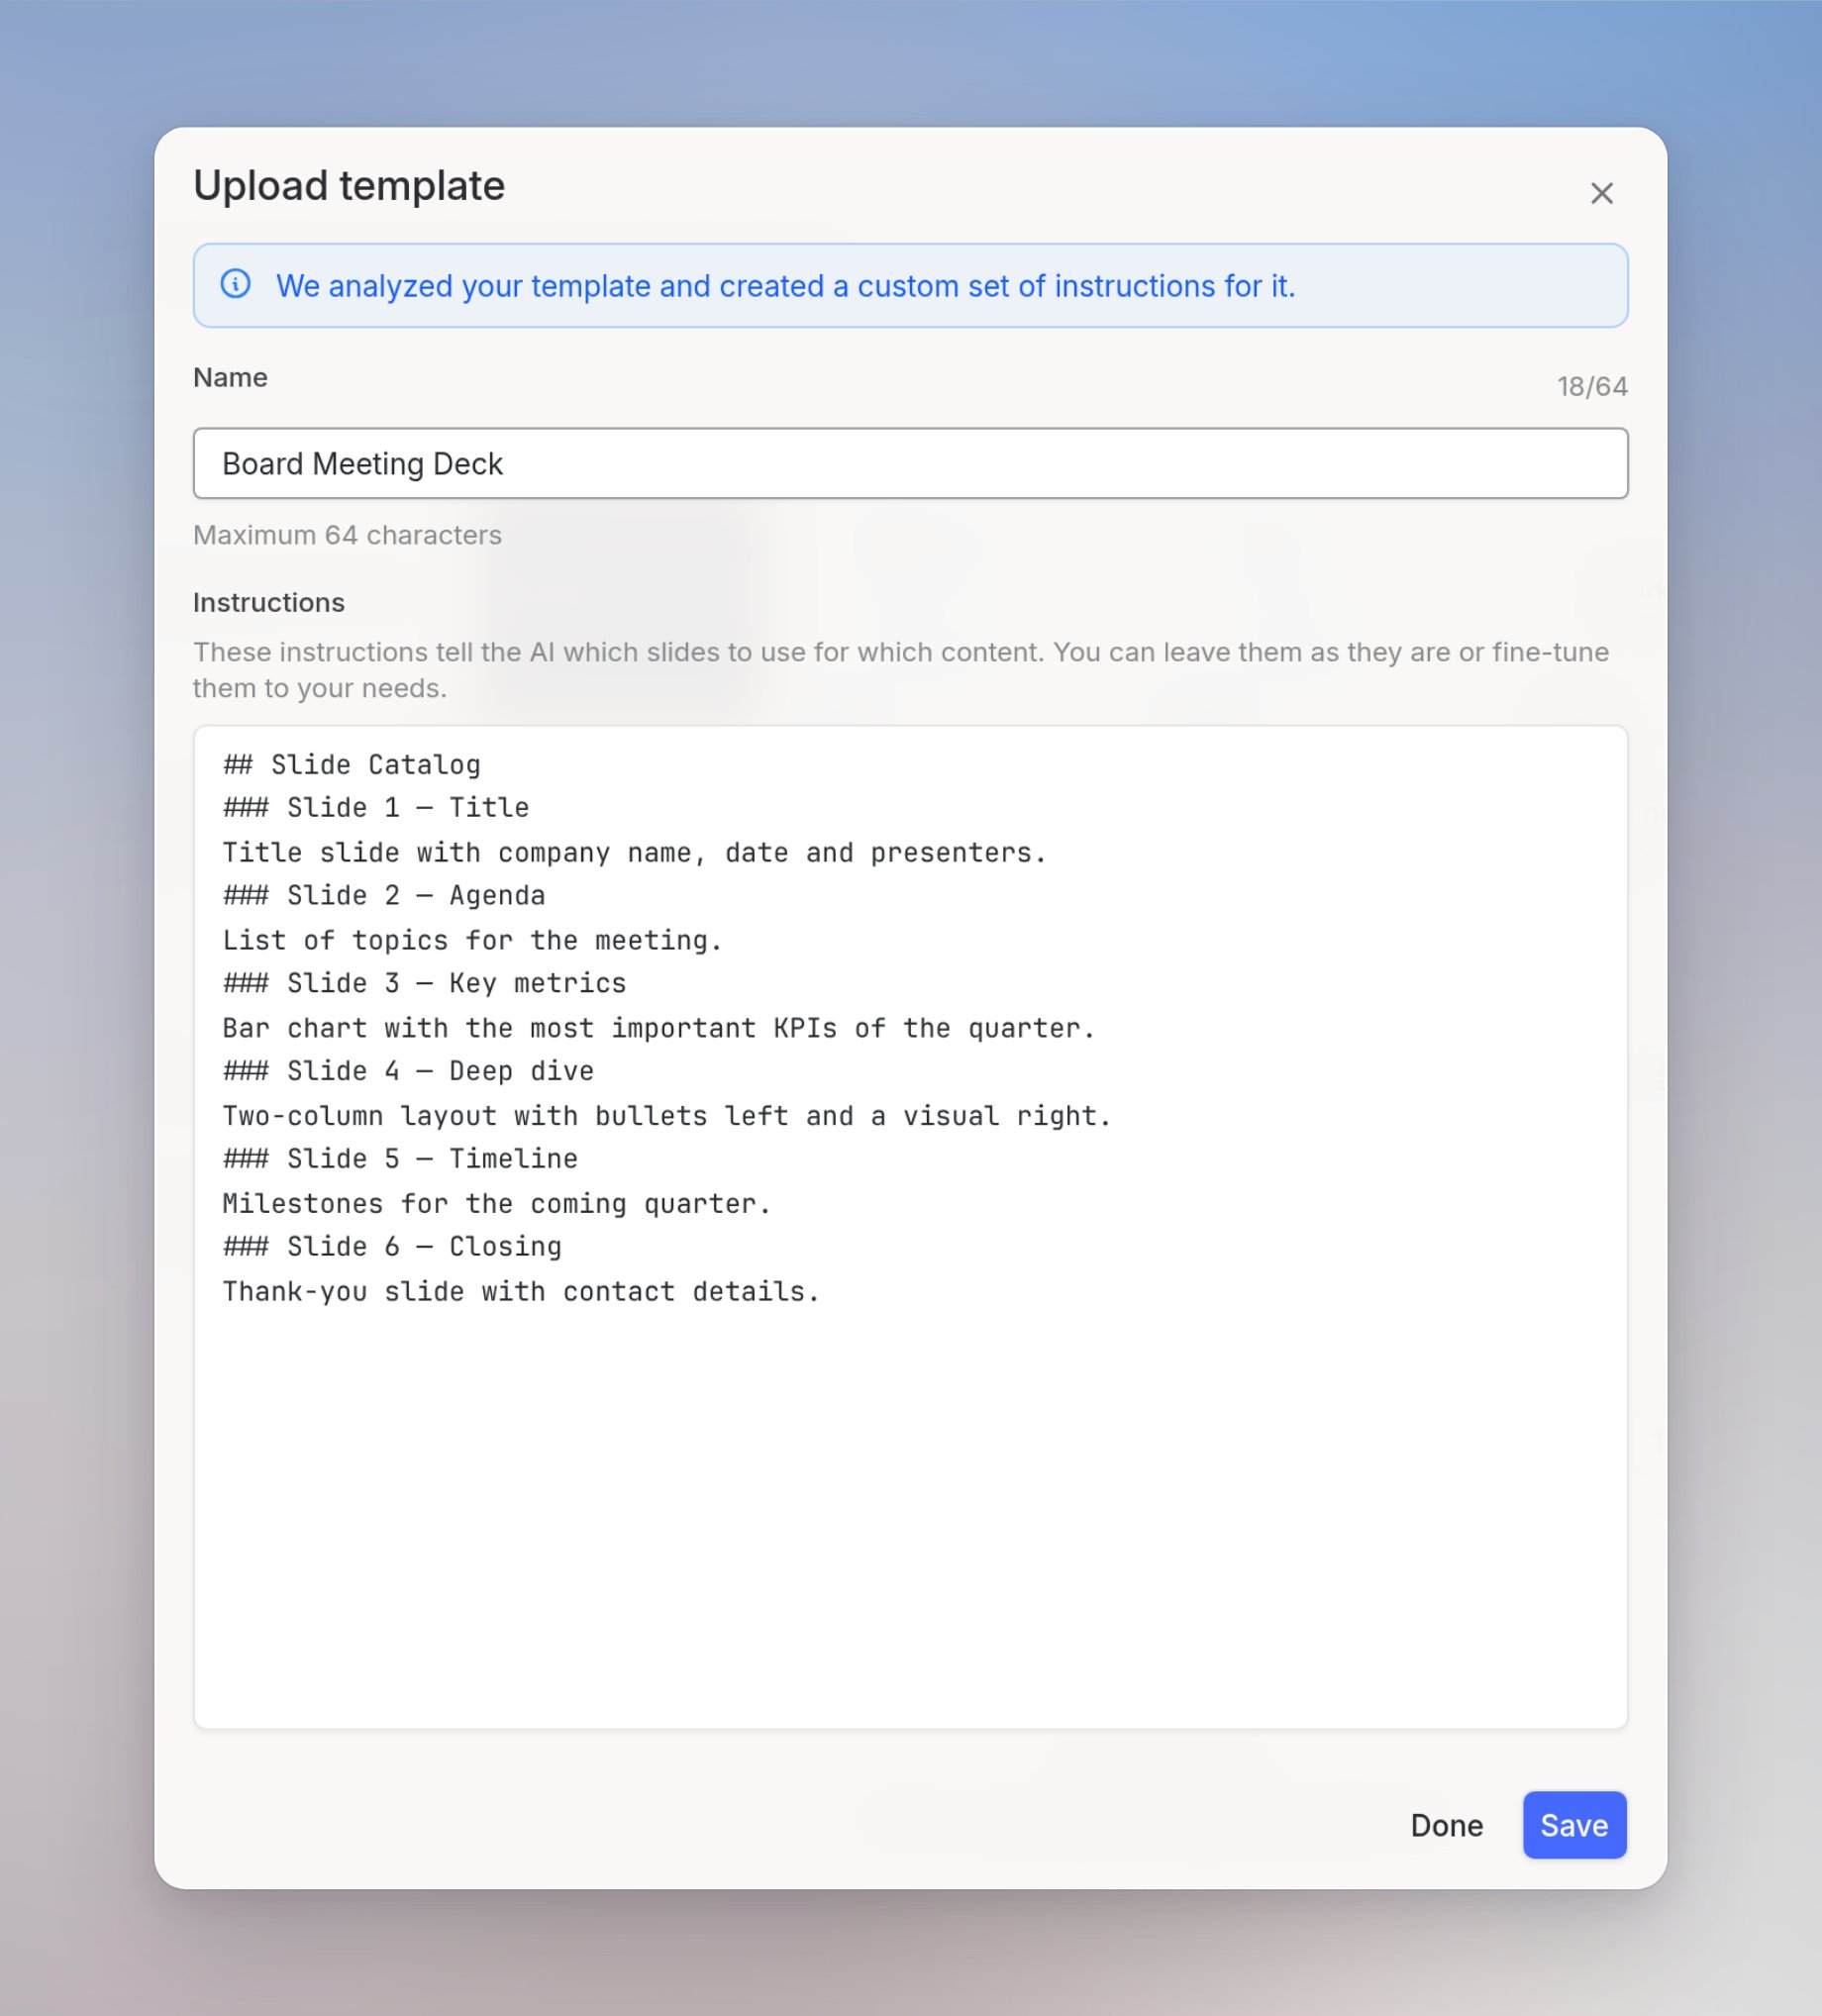
Managing templates
Each template card has a context menu with the following actions: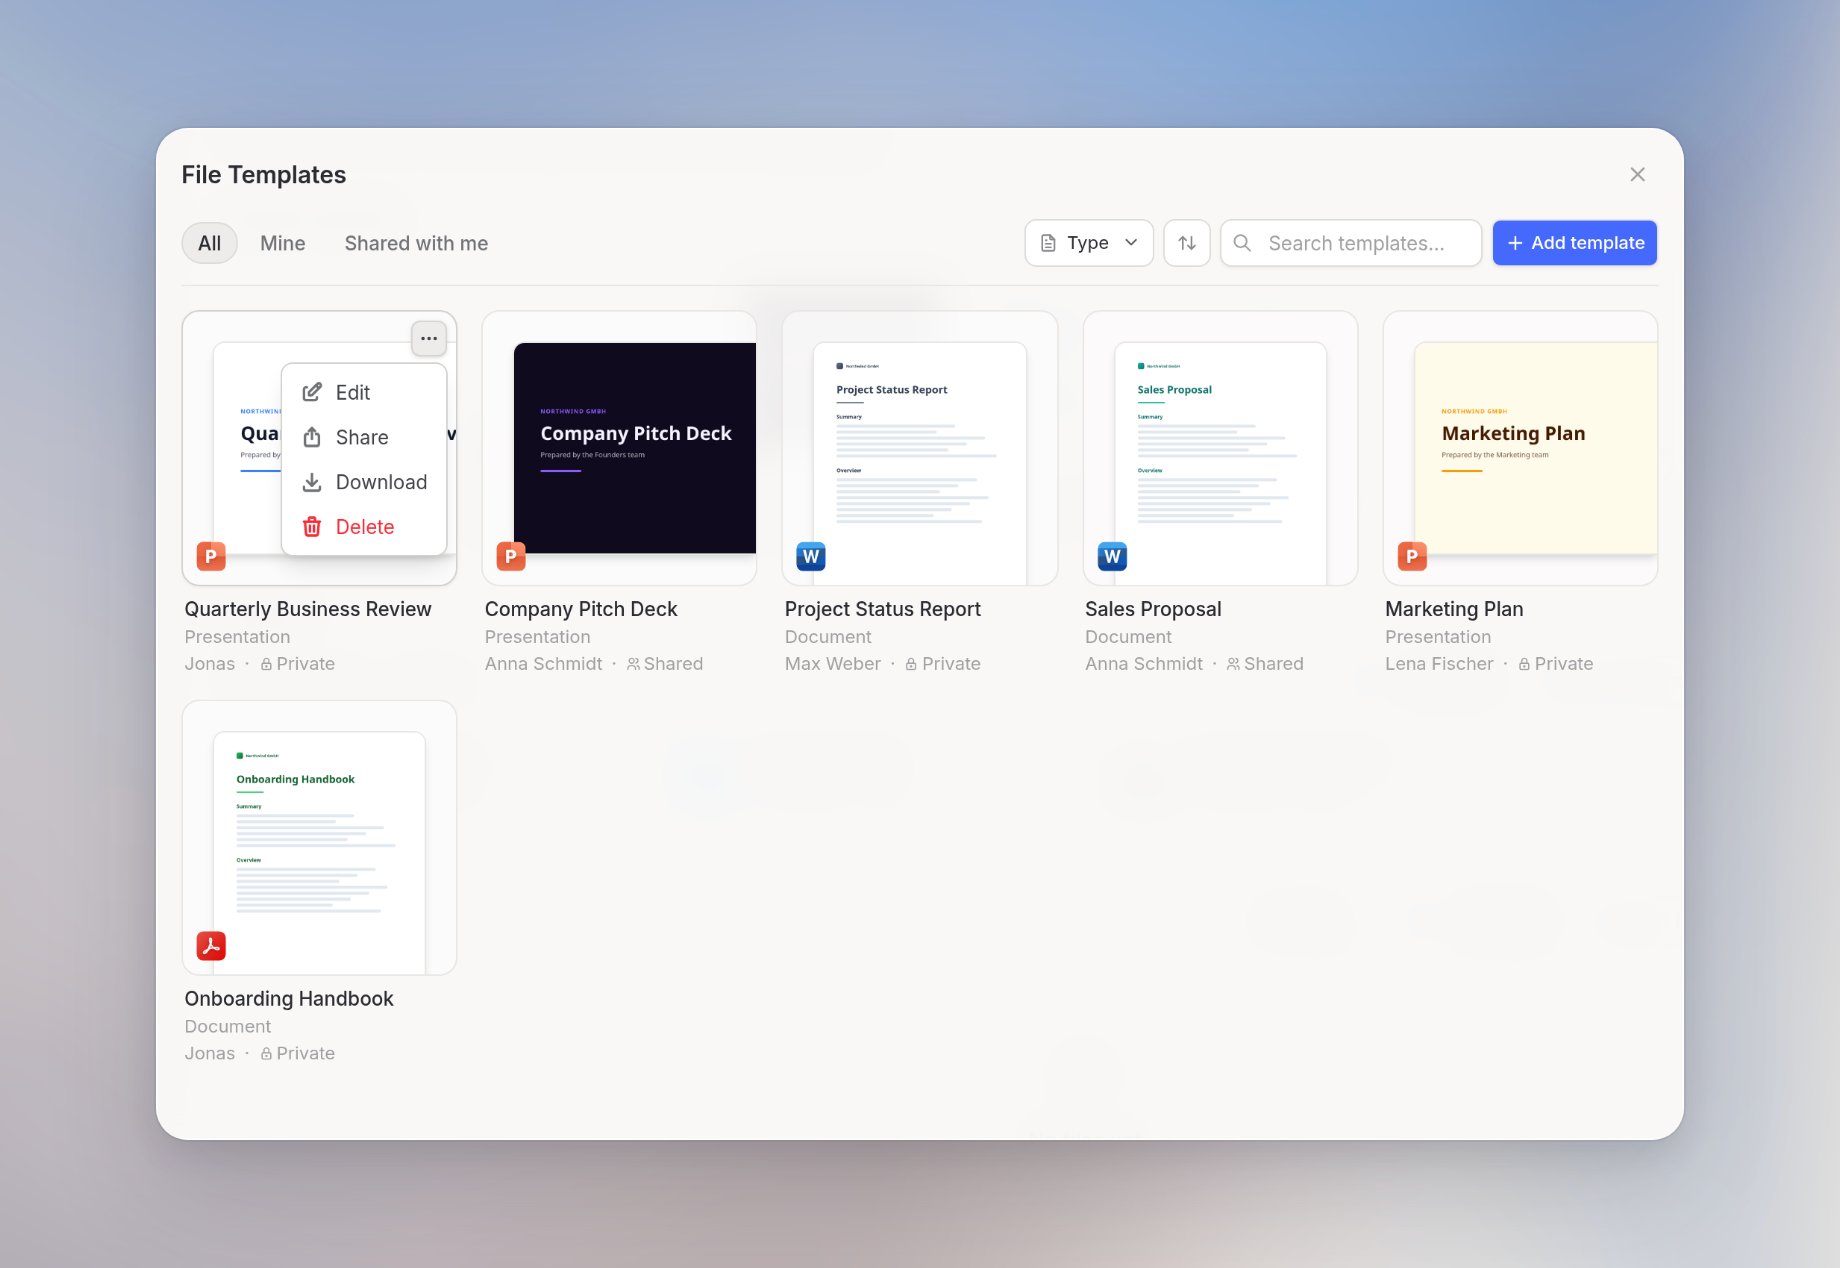
Edit, Share, and Delete appear only when you have the required access.
Sharing templates
You can share a template with individual users or groups in your workspace. New templates start as Restricted. Only people with access can use them until you share. Open the share dialog from the template card’s context menu, search for users or groups, and confirm.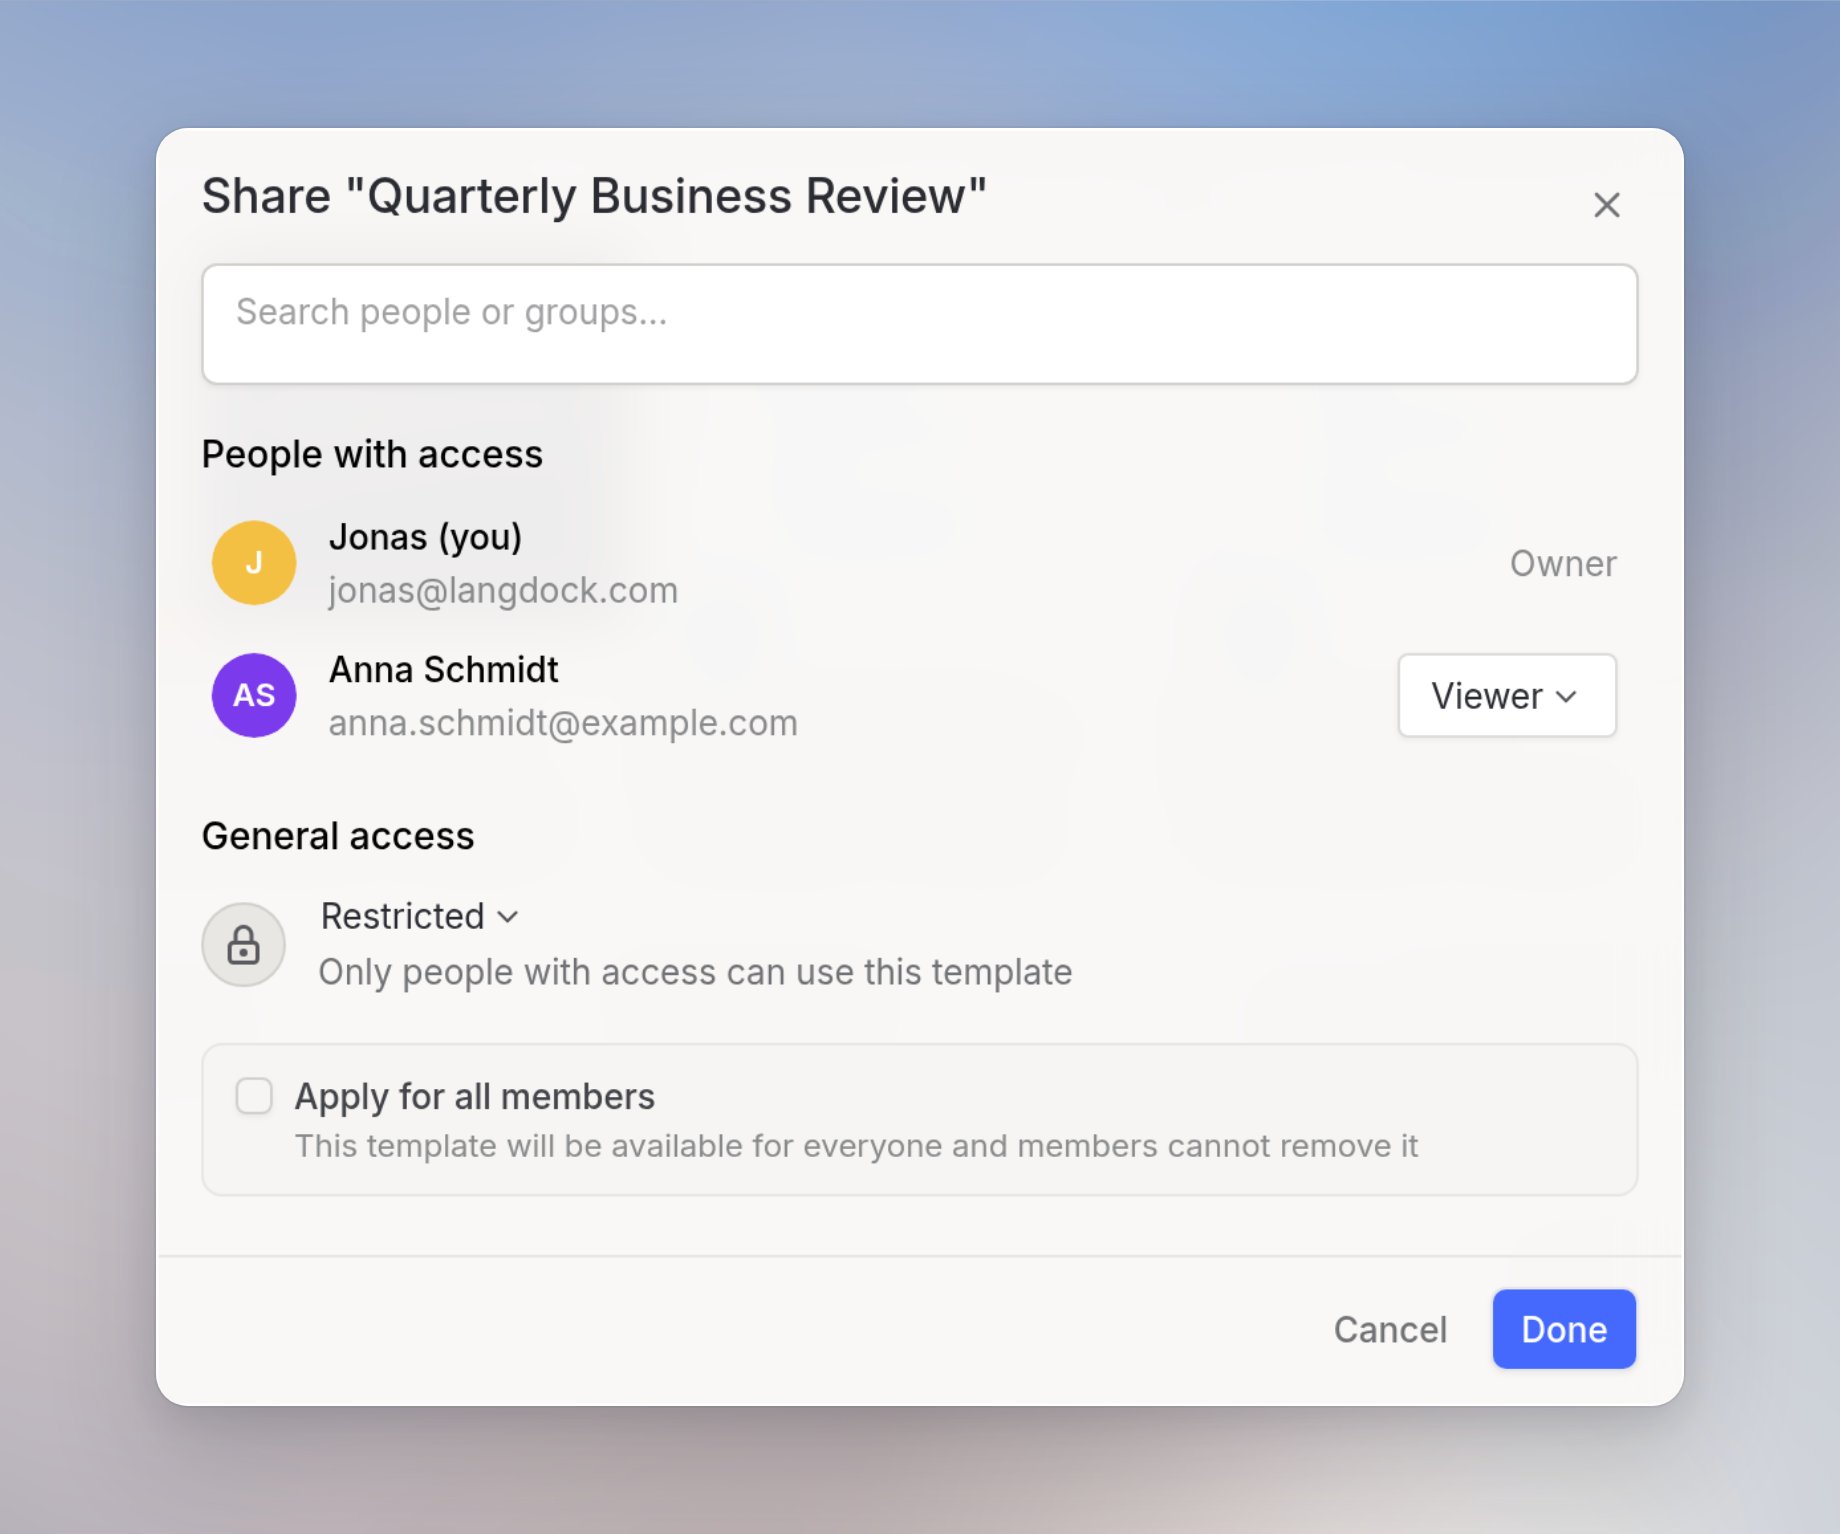
- Share templates: Enabled for everyone by default. Any user can share a template with specific people or groups.
- Share templates with workspace: Admin-only by default. Only admins can make a template available to the entire workspace.
Admin: enabling templates
Templates are built on top of Skills and require Skills to be enabled in your workspace. When Skills are disabled, templates will not appear in the Library or in chat. By default, any user can share a template with specific users or groups, but only admins can share a template with the entire workspace. You can adjust both defaults under User Management → Roles.Go to Settings → Products → Skills to manage Skills availability for your workspace. On dedicated deployments, admins can additionally turn templates off with Enable templates for this workspace under Settings → Workspace → Library, even when Skills stay enabled.
FAQ
Why can't I upload a template?
Why can't I upload a template?
If you do not see the upload controls in the Library or in chat, your workspace role may not include the Create skills permission required to upload file templates. Ask a workspace admin to check this permission under User management → Roles.
Which template formats work best?
Which template formats work best?
Templates work best when the structure is clear, reusable, and not overly dependent on fragile formatting. Use consistent headings, placeholders, and example content. Complex presentations or documents with strict brand layouts may require more testing and iteration.
How should I prepare a reusable template?
How should I prepare a reusable template?
Keep the template focused on the structure you want to preserve. Remove outdated content, use clear placeholder text, and include examples for sections that should be generated. If brand assets, fonts, or layout rules matter, include them directly in the template and describe the expected output in the prompt.
Why can generated documents or presentations differ from the template?
Why can generated documents or presentations differ from the template?
Generated files may differ when the model has to adapt content length, infer missing structure, or recreate formatting from ambiguous examples. More complex layouts, charts, tables, and presentations are more likely to need manual review or multiple iterations.