

Integrations vs. Actions vs. Triggers
Integrations are standardized connections between Langdock and third-party tools that handle authentication and API communication. Within each integration, you can build:- Actions: Functions that agents and workflows can call to interact with APIs (e.g., “create ticket”, “send email”, “get data”)
- Triggers: Event monitors that start workflows when specific events occur (e.g., “new email received”, “file uploaded”)
Setting up an Integration
In the integrations menu, clickAdd integration to get started.
Next, specify an integration name and upload an icon (shown in chat when using actions and in the integrations overview). Add a description to help agents know when to use this integration. Hit Save to create it.
Authentication
Start with authentication in theBuild tab. Select your authentication type and configure it following the steps below:
API Key
After selecting API Key authentication, add custom input fields in step 2 (like API key or client ID). These inputs are collected when users set up connections and can be marked as “required.” Step 3 lets you set up a test API endpoint to validate authentication. Replace the URL parameter and add references to your input fields usingdata.auth.fieldId.
Use the built-in ld.request and ld.log functions for requests and logging.
Test your action and create your first connection.
OAuth 2.0
Custom integrations support OAuth 2.0 authentication. Step 2 allows custom input fields (collected during connection setup). Client ID and Client Secret are entered in step 4, so this covers additional parameters only. Create an OAuth client Set up an OAuth client/App/Project in your target application and enable the required APIs. This is application-specific, which is why our interface supports custom code in step 5. For Google Calendar, create a Google Service Account, generate a new key to get theclient ID and secret, add them to Langdock in step 4, save the OAuth Redirect URL, and enable the Google Calendar API.
Change Authorization URL
Check the OAuth documentation for your service and extract the Authorization URL. Usually, changing the BASE_URL in our template is sufficient.
For Google Calendar:
Access Token URL and Refresh Token URL. Usually, updating the tokenUrl in our template works.
For Google Calendar:
const tokenUrl ='https://oauth2.googleapis.com/token';
Test Authentication Setup
Provide a test API endpoint (like /me) to verify authentication. The return value of that test request can be used inside the OAuth Client Label to influence the naming of the established connections. You can access the return value via: {{data.input}}
For Google Calendar: Google Sheets - {{data.input.useremail.value}}
Test by adding a connection and verifying the authorization flow works.
For Google Calendar, we test with:
Public APIs
ChooseNone for publicly available APIs without authentication.
Building Actions
Actions allow agents to interact with your API endpoints. There are two types of actions:- Regular Actions: Standard API interactions (create, read, update, delete operations)
- Native Actions: Special file search and download actions that integrate with Langdock’s file system
Regular Actions
Regular actions are the most common type and handle standard API operations.When to Build Regular Actions
- CRUD operations: Create, read, update, or delete data via API calls
- Data processing: Send data to APIs for analysis, transformation, or validation
- File operations: Upload files to services, process documents, send attachments
- Notifications: Send emails, messages, or create tickets
- Integrations: Connect multiple services or sync data between platforms
Setting Up Regular Actions
- Add Action: In your integration, click “Add Action”
- Configure Basic Info: Set name, description, and slug
- Add Input Fields: Define what data the action needs from users
- Write Action Code: Implement the API interaction logic
- Test: Validate your action works correctly
Action and Input Descriptions
The model reads your action and input descriptions to decide which action to call and how to fill each field. You do not need a Skill to explain how your actions work.- Action description: State what the action does, when to use it, and what it returns
- Input descriptions: State the expected format, allowed values, and defaults
- Similar actions: State in each description when to use which one
Input Field Types
Example: Create Ticket Action
File Upload Example
Returning Files from Actions
Actions can also generate and return files:Building Triggers
Triggers monitor external systems for events and can start workflows automatically.When to Build Triggers
- Event monitoring: Detect new emails, files, records, or changes
- Workflow automation: Start processes when specific events occur
- Data synchronization: Keep systems in sync by detecting changes
- Notifications: React to external events and notify users
Trigger Types
- Polling Triggers: Periodically check APIs for new events
- Webhook Triggers: Receive real-time notifications from external systems
Setting Up Polling Triggers
- Add Trigger: In your integration, click “Add Trigger”
- Configure Settings: Set name, description, and polling interval
- Add Input Fields: Define configuration parameters (optional)
- Write Trigger Code: Implement the polling logic
- Test: Validate your trigger detects events correctly
Required Return Format
Triggers must return an array of events with this structure:Example: New Email Trigger
Triggers with File Attachments
When triggers detect events with files, include them in the data object. Useld.request() to download the file content:
Webhook Triggers
The trigger builder currently supports polling triggers only. Webhook (REST_HOOK) triggers are available via the API but not yet exposed in the trigger builder UI.
Native Actions
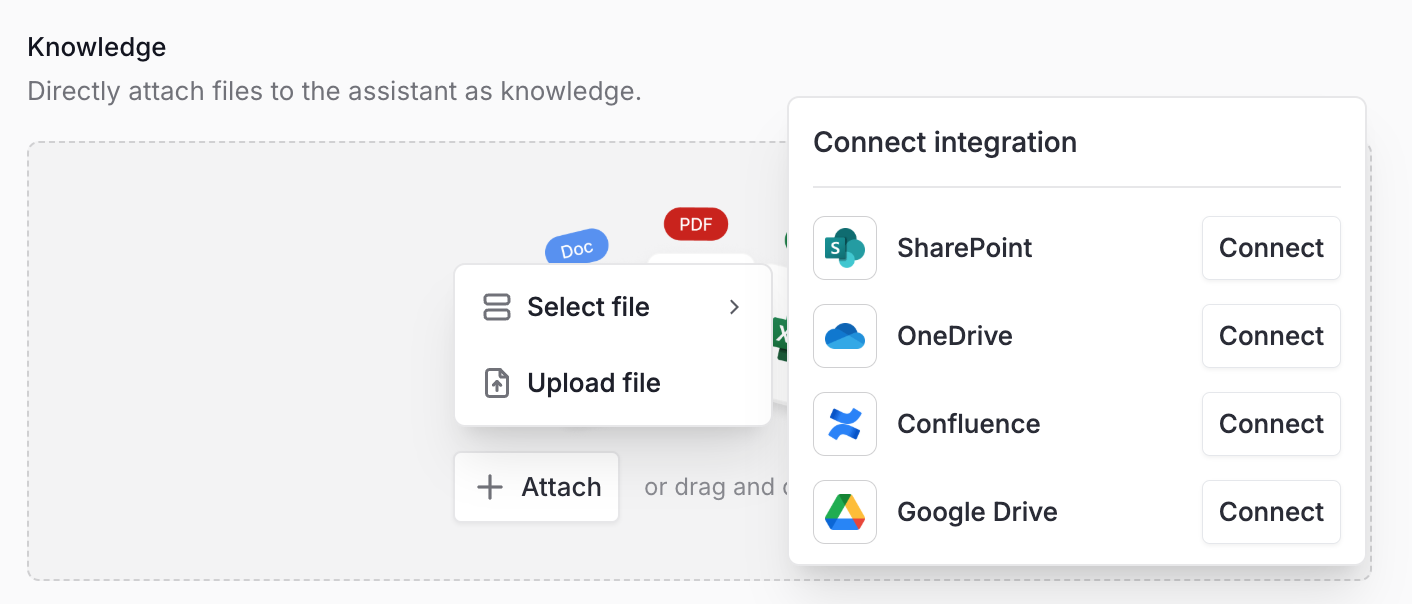
Native actions allow you to search and download files that aren’t stored locally on a user’s device. We’ve already built native actions for SharePoint, OneDrive, Google Drive, and Confluence. In chat, click + and choose a connected service by name to search and attach those files. If none of those integrations are connected, the menu shows Select file. Use Add files to upload from your device. You can attach the same sources when you add knowledge to an Agent.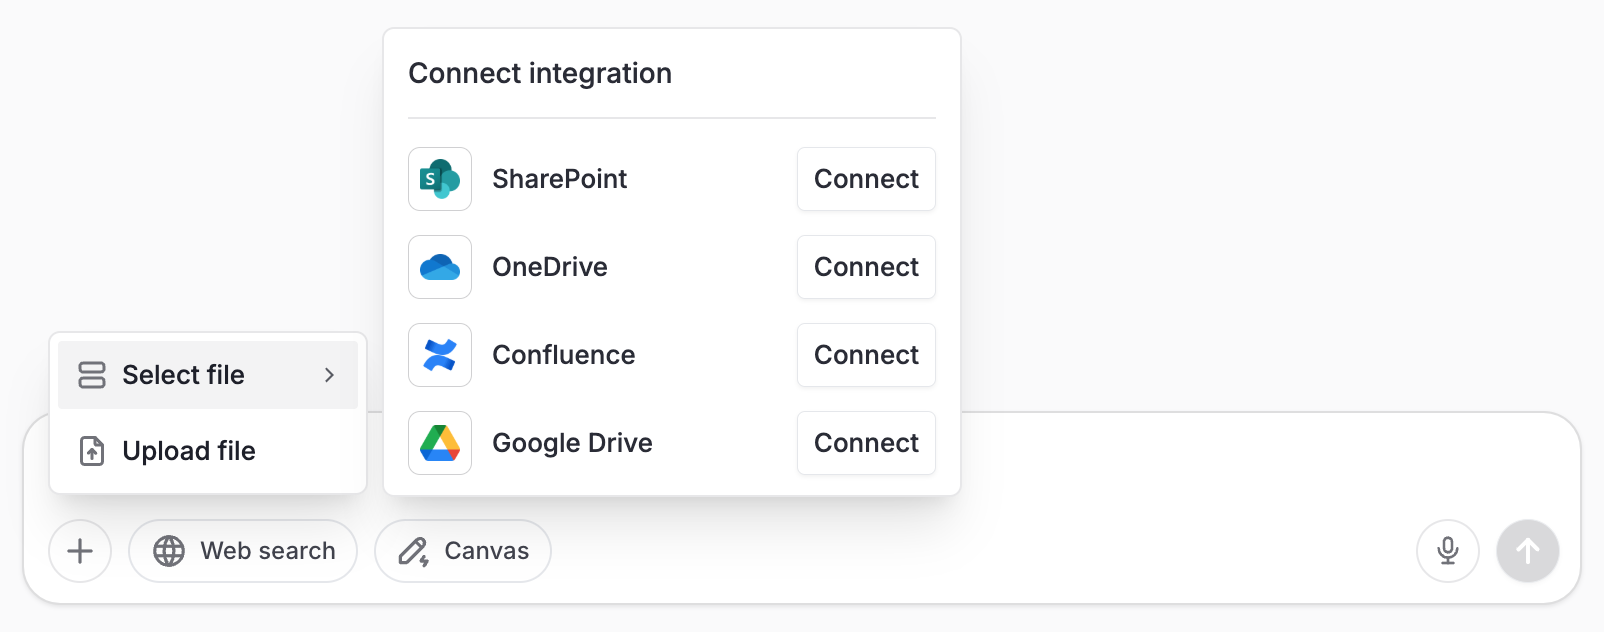
Setting up a Native Action
To set up a native action, begin building your integration as usual. Add another action, and in Step 1 under Advanced, select either “Search files” or “Download file” as the action type. Afterwards, you build the action as any other action, but your function needs to return a specific object structure. This ensures compatibility and enables agents to handle files and search results correctly.Required Output Format
Depending on the action you select, your function must return a specific object structure. This ensures compatibility and enables agents to handle files and search results correctly. Search files: When building a native search integration, your function must return an array of objects matching the following schema:For native download actions, return an object in the following format:
Accessing Input Fields
Usedata.input.{fieldSlug} for input field values and data.auth.{fieldSlug} for authentication field values from the user’s current connection. The slug is the identifier you set when creating each field in the integration builder.
Built-in Functions for Custom Code Sections
Custom code sections have access to a set of built-in utility functions for common operations. Here are the most commonly used:Essential Functions
ld.request()- Make HTTP requests to external APIsld.log()- Output debugging informationatob()/btoa()- Base64 encoding/decodingJSON.stringify()/JSON.parse()- JSON manipulation
Complete Sandbox Utilities Reference
View all available sandbox utilities including data conversions (CSV, Parquet, Arrow), SQL validation, cryptography, AWS request signing, Microsoft XMLA integration, and more.
Quick Examples
HTTP RequestSandbox Library Restrictions
Custom integration code runs in a secure sandboxed environment. You cannot install or import external libraries (npm, pip, etc.) - only a limited set of built-in JavaScript/Node.js APIs are available. For advanced processing (e.g., PDF parsing, image manipulation), use external APIs or services and call them from your integration code.
Best Practices
Action Design
- Single responsibility: Each action should do one thing well
- Clear naming: Use descriptive action names that explain the purpose
- Input validation: Always validate required inputs and provide helpful error messages
- Error handling: Catch and handle API errors gracefully
- Logging: Use
ld.log()to help with debugging
ID Handling
Most API calls require specific internal IDs. The challenge is that agents can’t guess these IDs, which creates a poor user experience when calling actions like “get specific contact in HubSpot” or “add event to specific calendar in Google Calendar.” The solution: Create helper actions that retrieve and return these IDs to the agent first. For example, ourGet deal context function for HubSpot uses GET endpoints to gather internal IDs for available pipelines and stages. This enables agents to use actions like Create deal or Update deal much more effectively since they now have the required context.
Performance
- Minimize API calls: Batch operations when possible
- Use pagination: Handle large datasets appropriately
- Timeout handling: Set appropriate timeouts for external API calls
Security
- Validate inputs: Never trust user input without validation
- Sanitize data: Clean data before sending to external APIs
- Handle secrets: Use authentication fields for sensitive data, never hardcode
- Rate limiting: Respect API rate limits and implement backoff strategies
FAQ
When should I create a custom integration?
When should I create a custom integration?
Create a custom integration when Langdock should connect to a tool or API that is not covered by an existing integration. It is best for repeatable actions, structured data retrieval, and workflows where users should not manually copy data between systems.
What should I check if a custom integration does not work as expected?
What should I check if a custom integration does not work as expected?
Check authentication, endpoint URLs, request methods, required headers, input schema, output schema, and whether the external API returns the expected response. Test one action with simple inputs before adding complex logic.