The Excel plugin brings Langdock into Microsoft Excel, so your spreadsheets and AI assistance stay side by side. Use it to understand workbooks faster, create formulas, clean up data, and turn spreadsheet findings into clear summaries without switching tools. You can ask questions while looking at your workbook, iterate on outputs directly in Excel, and keep your analysis in the place where the work is happening.
Working with Langdock in Excel
The Excel plugin is useful whenever the work starts in a spreadsheet. Instead of copying data into a separate chat, you can keep Excel open and use Langdock alongside it.
Common use cases
- Build tables and plans: Ask Langdock to create budget plans, project trackers, comparison tables, reporting templates, or charts directly in your workbook.
- Create calculations: Describe the calculation you need and let Langdock add formulas, totals, percentages, or growth rates.
- Clean and structure data: Standardize names, dates, categories, currencies, or messy rows before you analyze them.
- Analyze spreadsheet results: Ask Langdock to find trends, outliers, changes, and key takeaways in your data.
- Research and enrichment: Use Langdock to research companies, markets, or topics and add useful context to your spreadsheet.
- Prepare summaries: Turn spreadsheet findings into updates for reports, emails, presentations, or team meetings.
Example: Build a quarterly budget plan
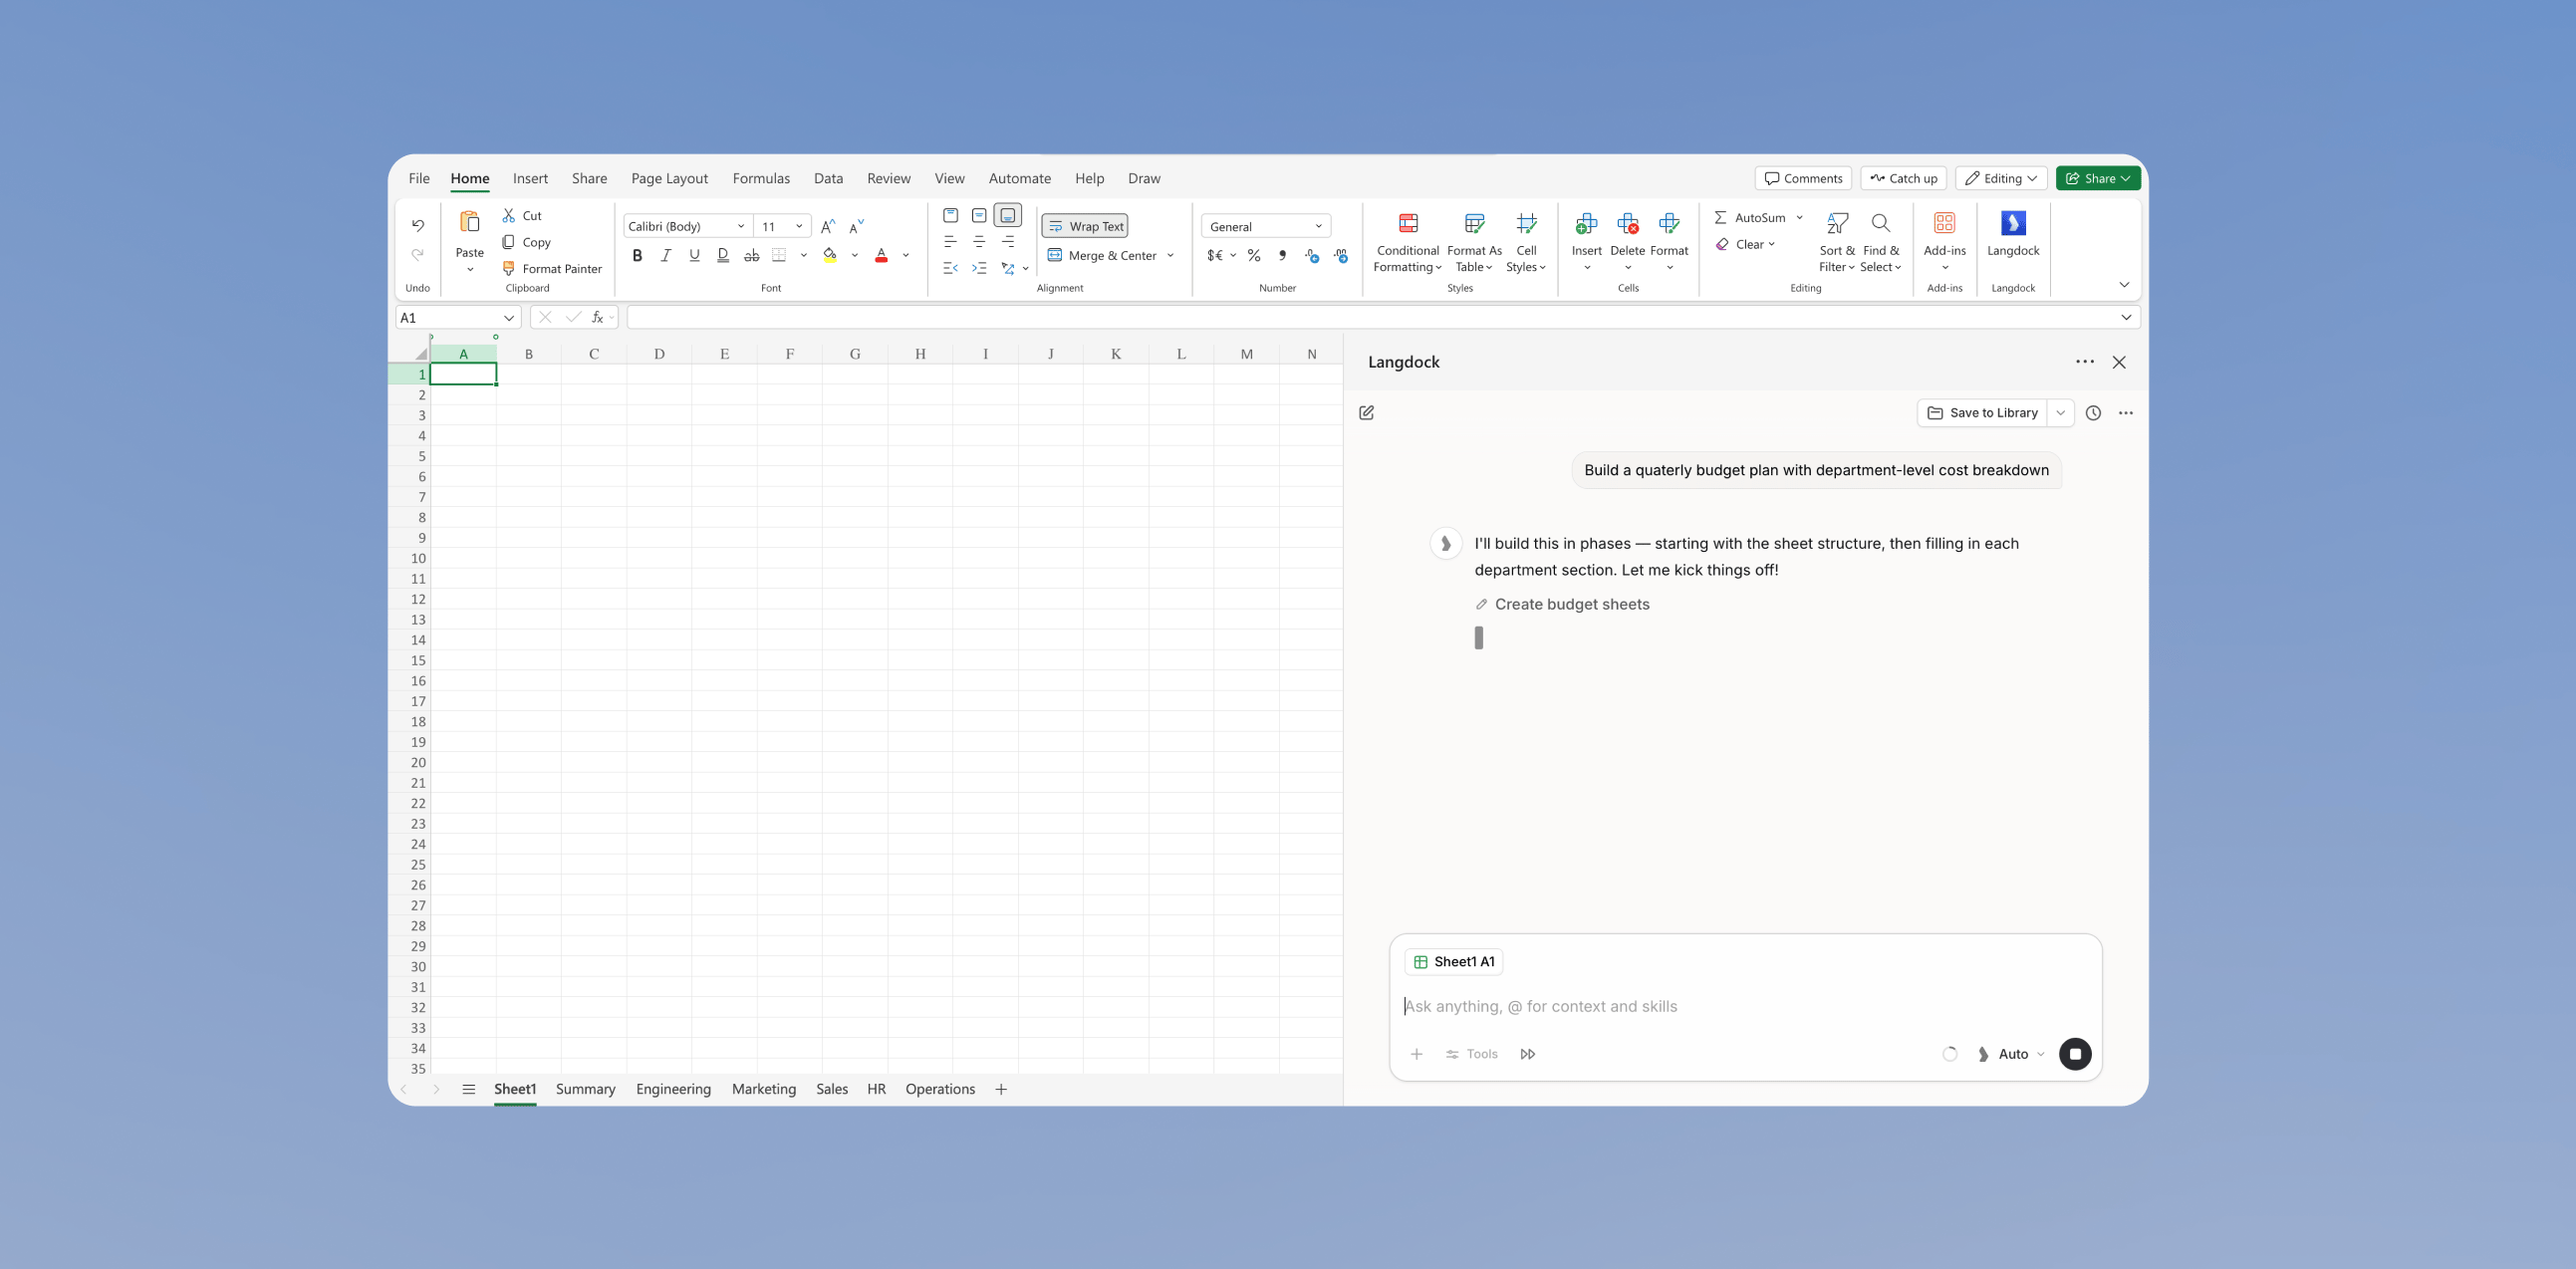
Say you need to create a quarterly budget plan with department-level cost breakdowns. Open the Langdock Add-in next to your workbook and describe what you want to build.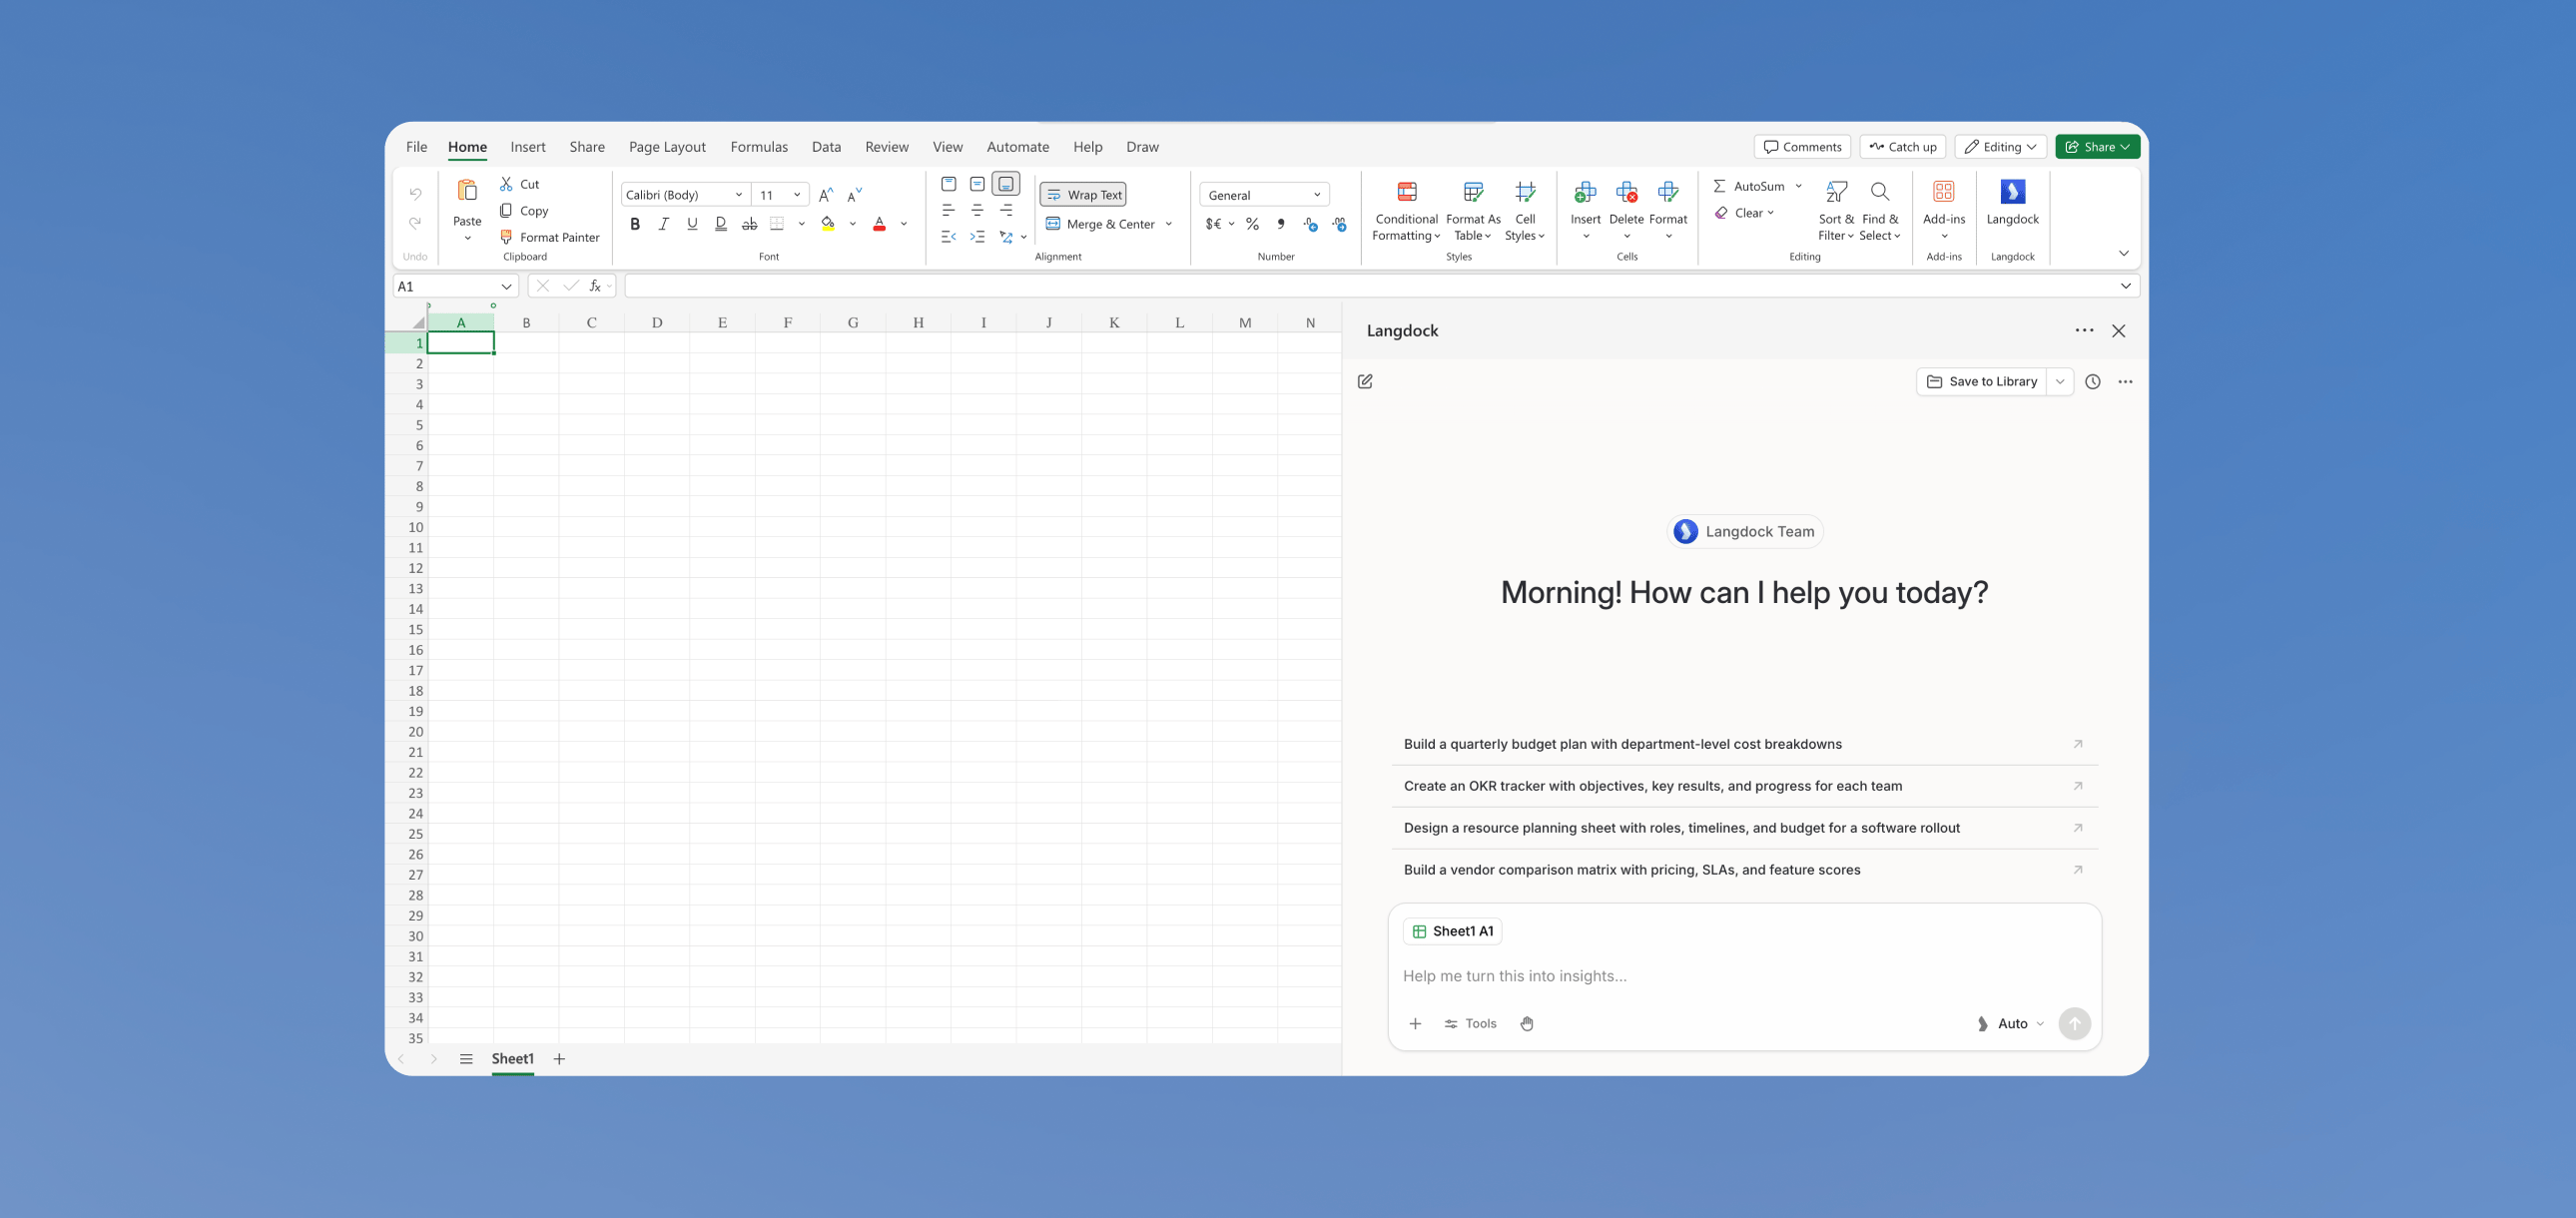
Build a quarterly budget plan with department-level cost breakdowns
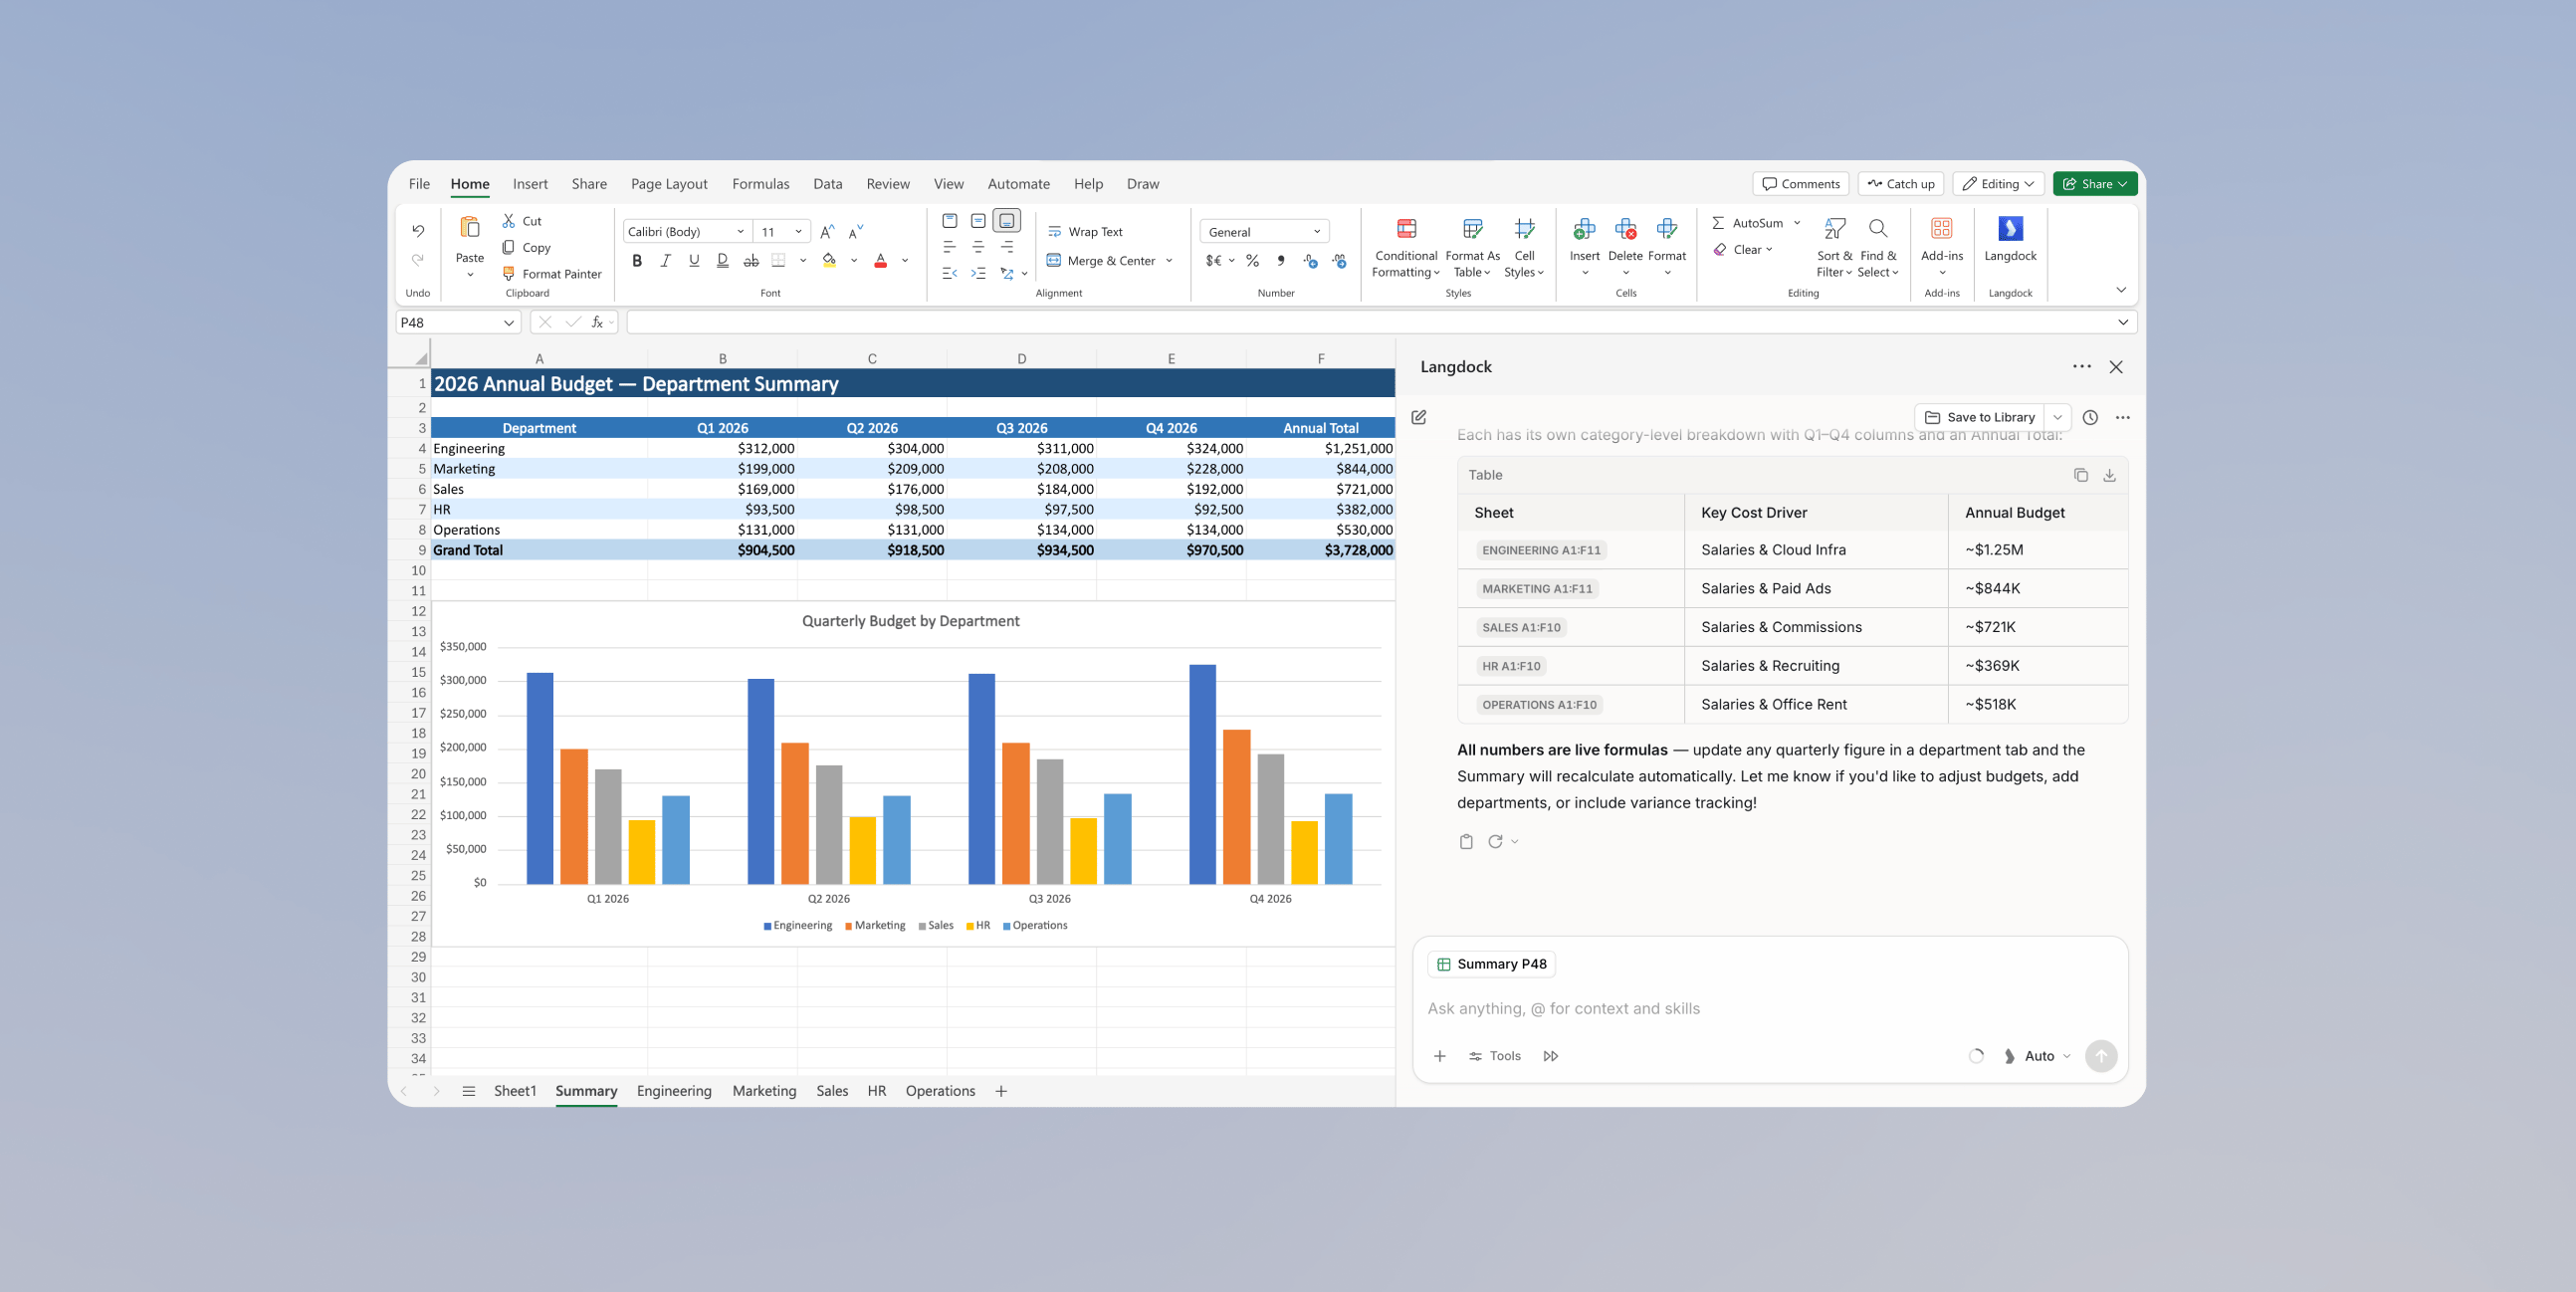
Jump to cited cells
When Langdock references cells in a reply, the reference appears as a clickable pill, for example Sheet1 B3:B8. Click the pill to open the referenced sheet and select the range in your workbook. If the sheet has since been renamed or removed, Langdock shows a short notice instead.Import an uploaded spreadsheet
Attach a spreadsheet to the chat and ask Langdock to open, import, insert, or edit it in Excel, for exampleImport this spreadsheet into my workbook. Langdock copies the attached workbook’s sheets into the workbook you have open so you can review and edit them in place. Without an explicit request, the attachment stays a read-only data source and your workbook stays unchanged. Importing never modifies the uploaded file or its source in OneDrive, SharePoint, or Google Drive.
Next steps
After Langdock creates the first output, you can keep working from the same panel:- Ask follow-up questions about the sheet
- Add calculations, totals, or comparisons
- Enrich the spreadsheet with results from a Web Search
- Draft an email by using Actions in Chat and selecting your email provider from your connected integrations
Edit permissions
Langdock asks before changing your workbook by default. Switch modes from the Edit permissions menu in the chat input:- Ask before edits: Langdock shows a confirmation with the action, target range, and cell count before each write. Choose Allow once, Always allow, or Deny.
- Accept all edits: Langdock applies edits without asking.
Save to Library
You can save files from the Excel plugin directly to your Langdock Library, making them accessible to your Workspace and team. Save to the Library root or choose a specific Folder to organize files for everyone with access.
Preferences
Open the plugin menu in the top bar and select Preferences to customize the plugin. In the Instructions field, add custom instructions that apply only to chats in the Excel plugin, for exampleRound decimals to two places. Below that, choose a Default model that is preselected whenever you start a new plugin chat. Both are independent of your global account settings. You can also switch the theme and delete all plugin conversations here.
How to install Langdock for Excel
Install the Langdock Add-in from the Microsoft Marketplace and connect it to your Langdock account.1
Open the Microsoft Marketplace
Navigate to the Langdock for Excel page on the Microsoft Marketplace.
2
Get the Add-in
Click Get it now and confirm your details in the dialog that appears.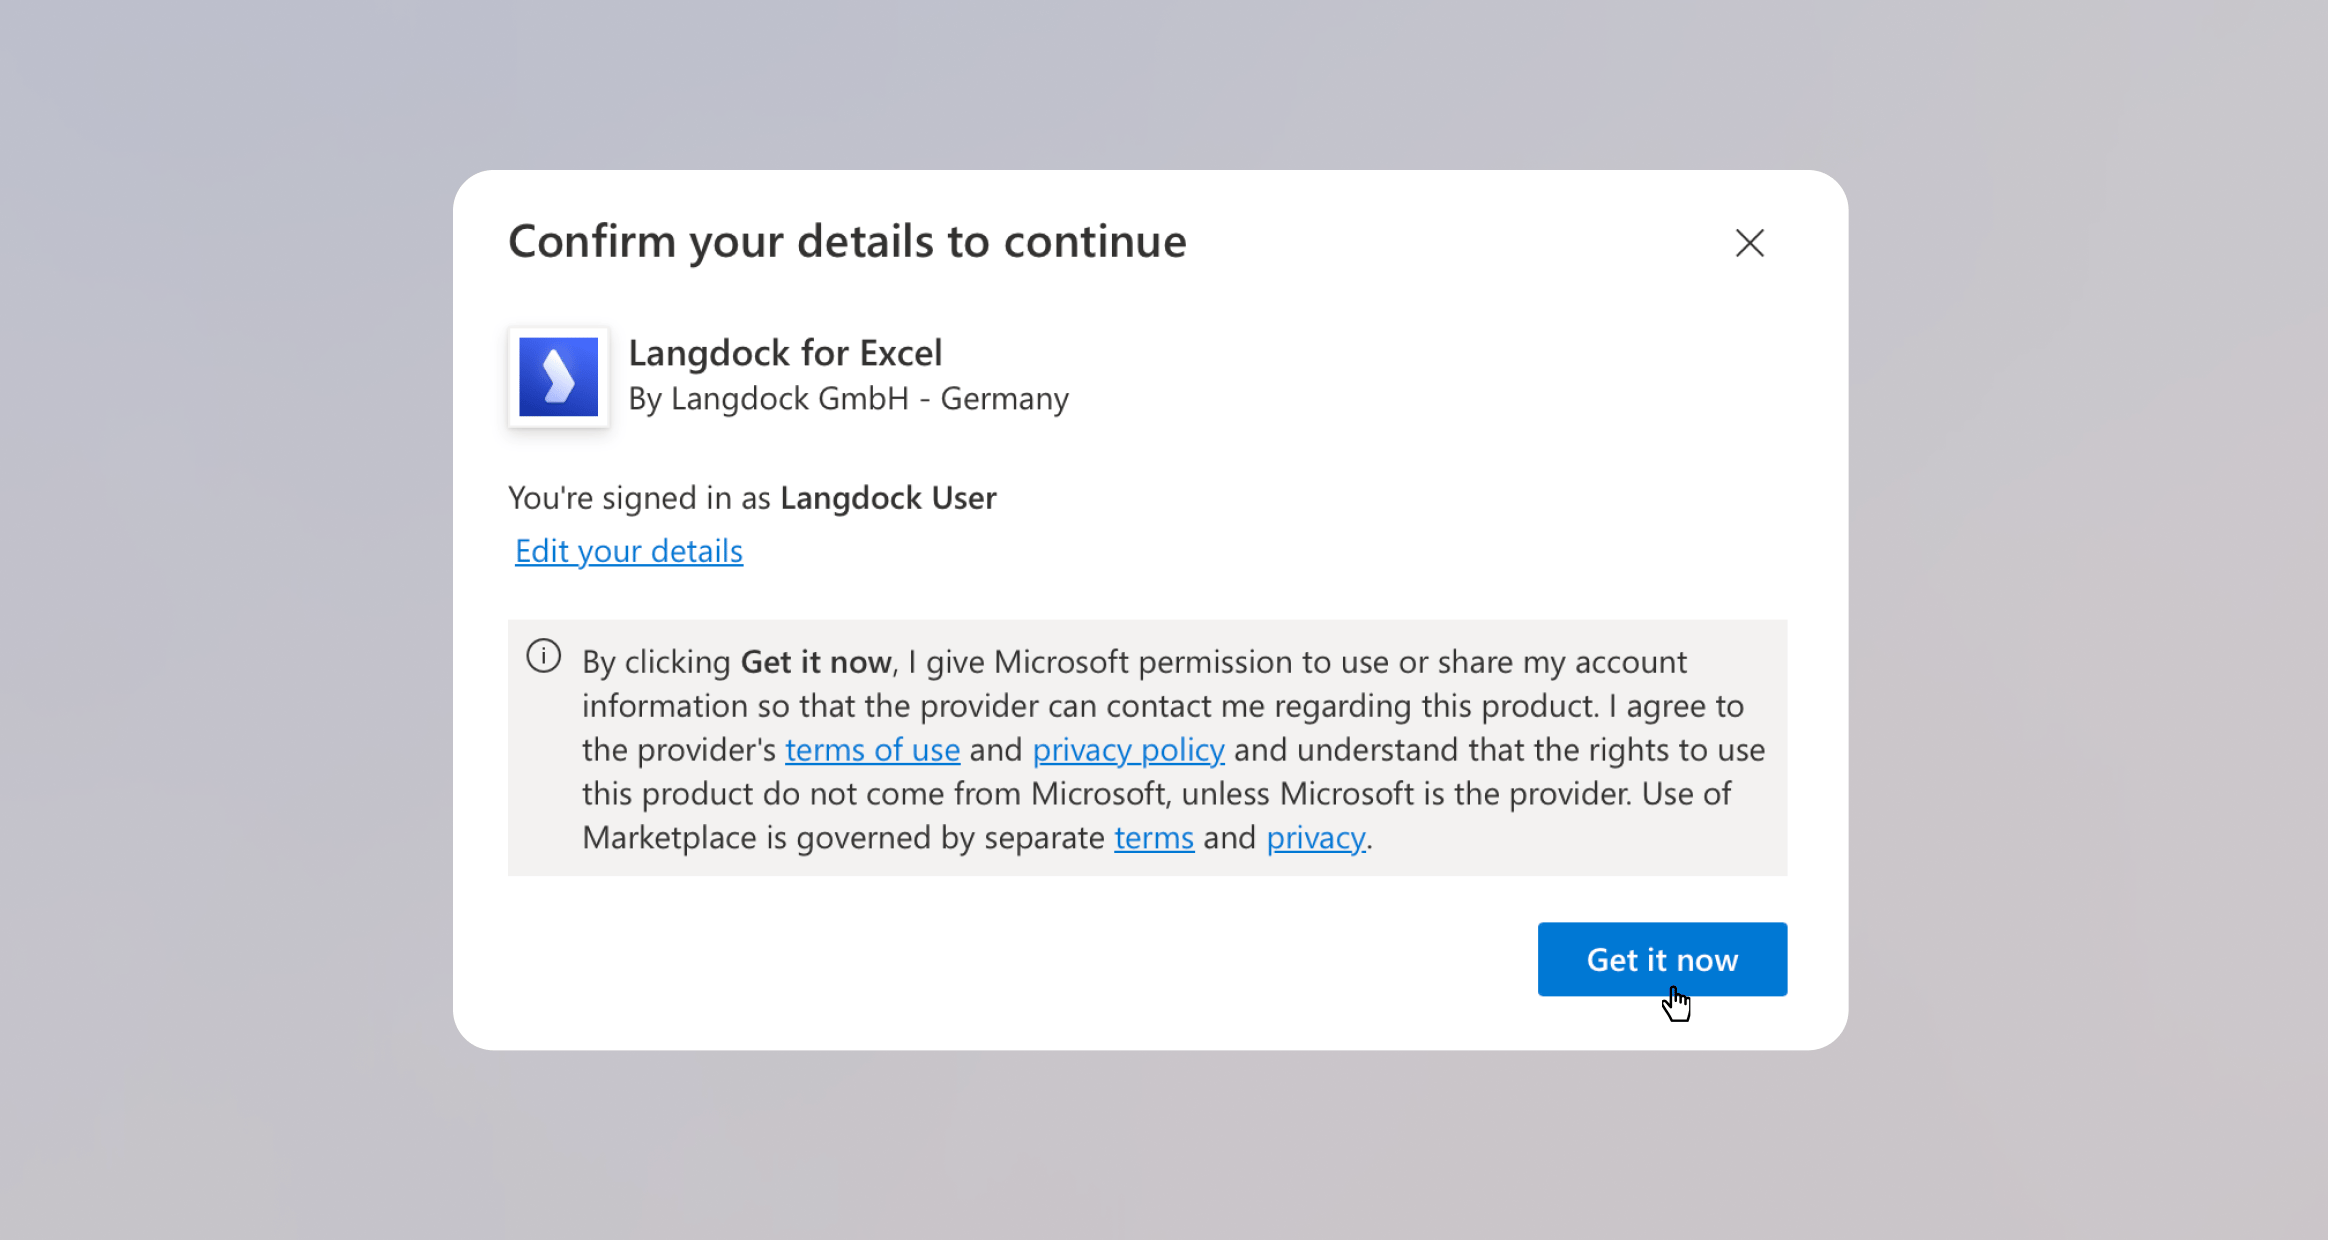
3
Open in Excel
Click Open in Excel to launch the Add-in directly in your workbook.
4
Sign in to Langdock
Follow the sign-in flow to connect the Add-in to your Langdock account. Click Continue to log in.