Supported formats
Templates can be uploaded in the following formats:| File type | Extensions |
|---|---|
| Presentations | .pptx, .ppt, .potx |
| Documents | .docx, .dotx |
| PDFs | .pdf |
Browsing and using templates
Opening the template gallery
From the Library, click All templates in the Create New section to open the template gallery. You can also access templates directly when starting a new file in chat. Each mode (Document, Slides) shows a Use a Template section.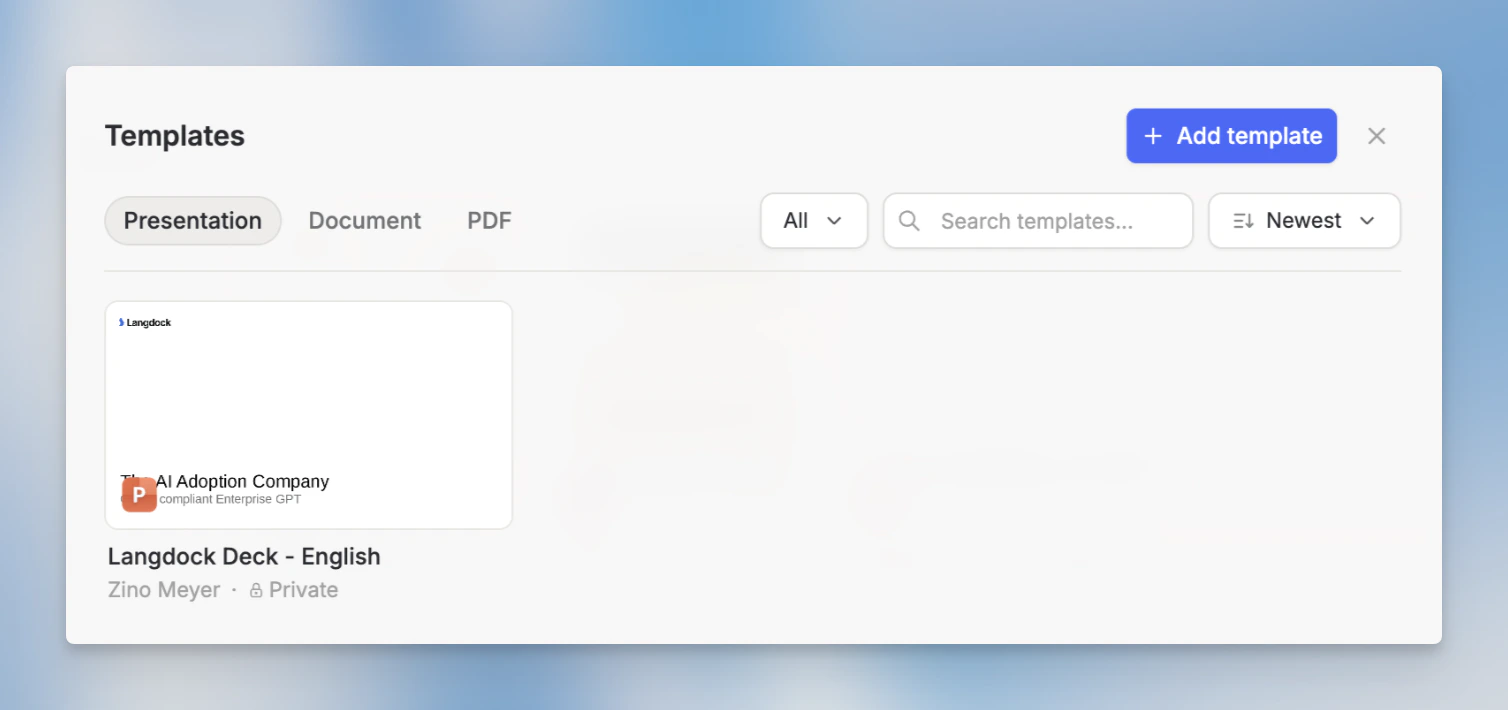
Filtering and sorting
The gallery lets you narrow down templates by:- Type: Presentation, Document, or PDF
- Ownership: All templates, only yours, or shared with you
- Sort: Newest first, A–Z, or most used
Previewing a template
Click any template card to open a full-screen preview with a carousel of all pages. From the preview you can see the layout and content before committing to it.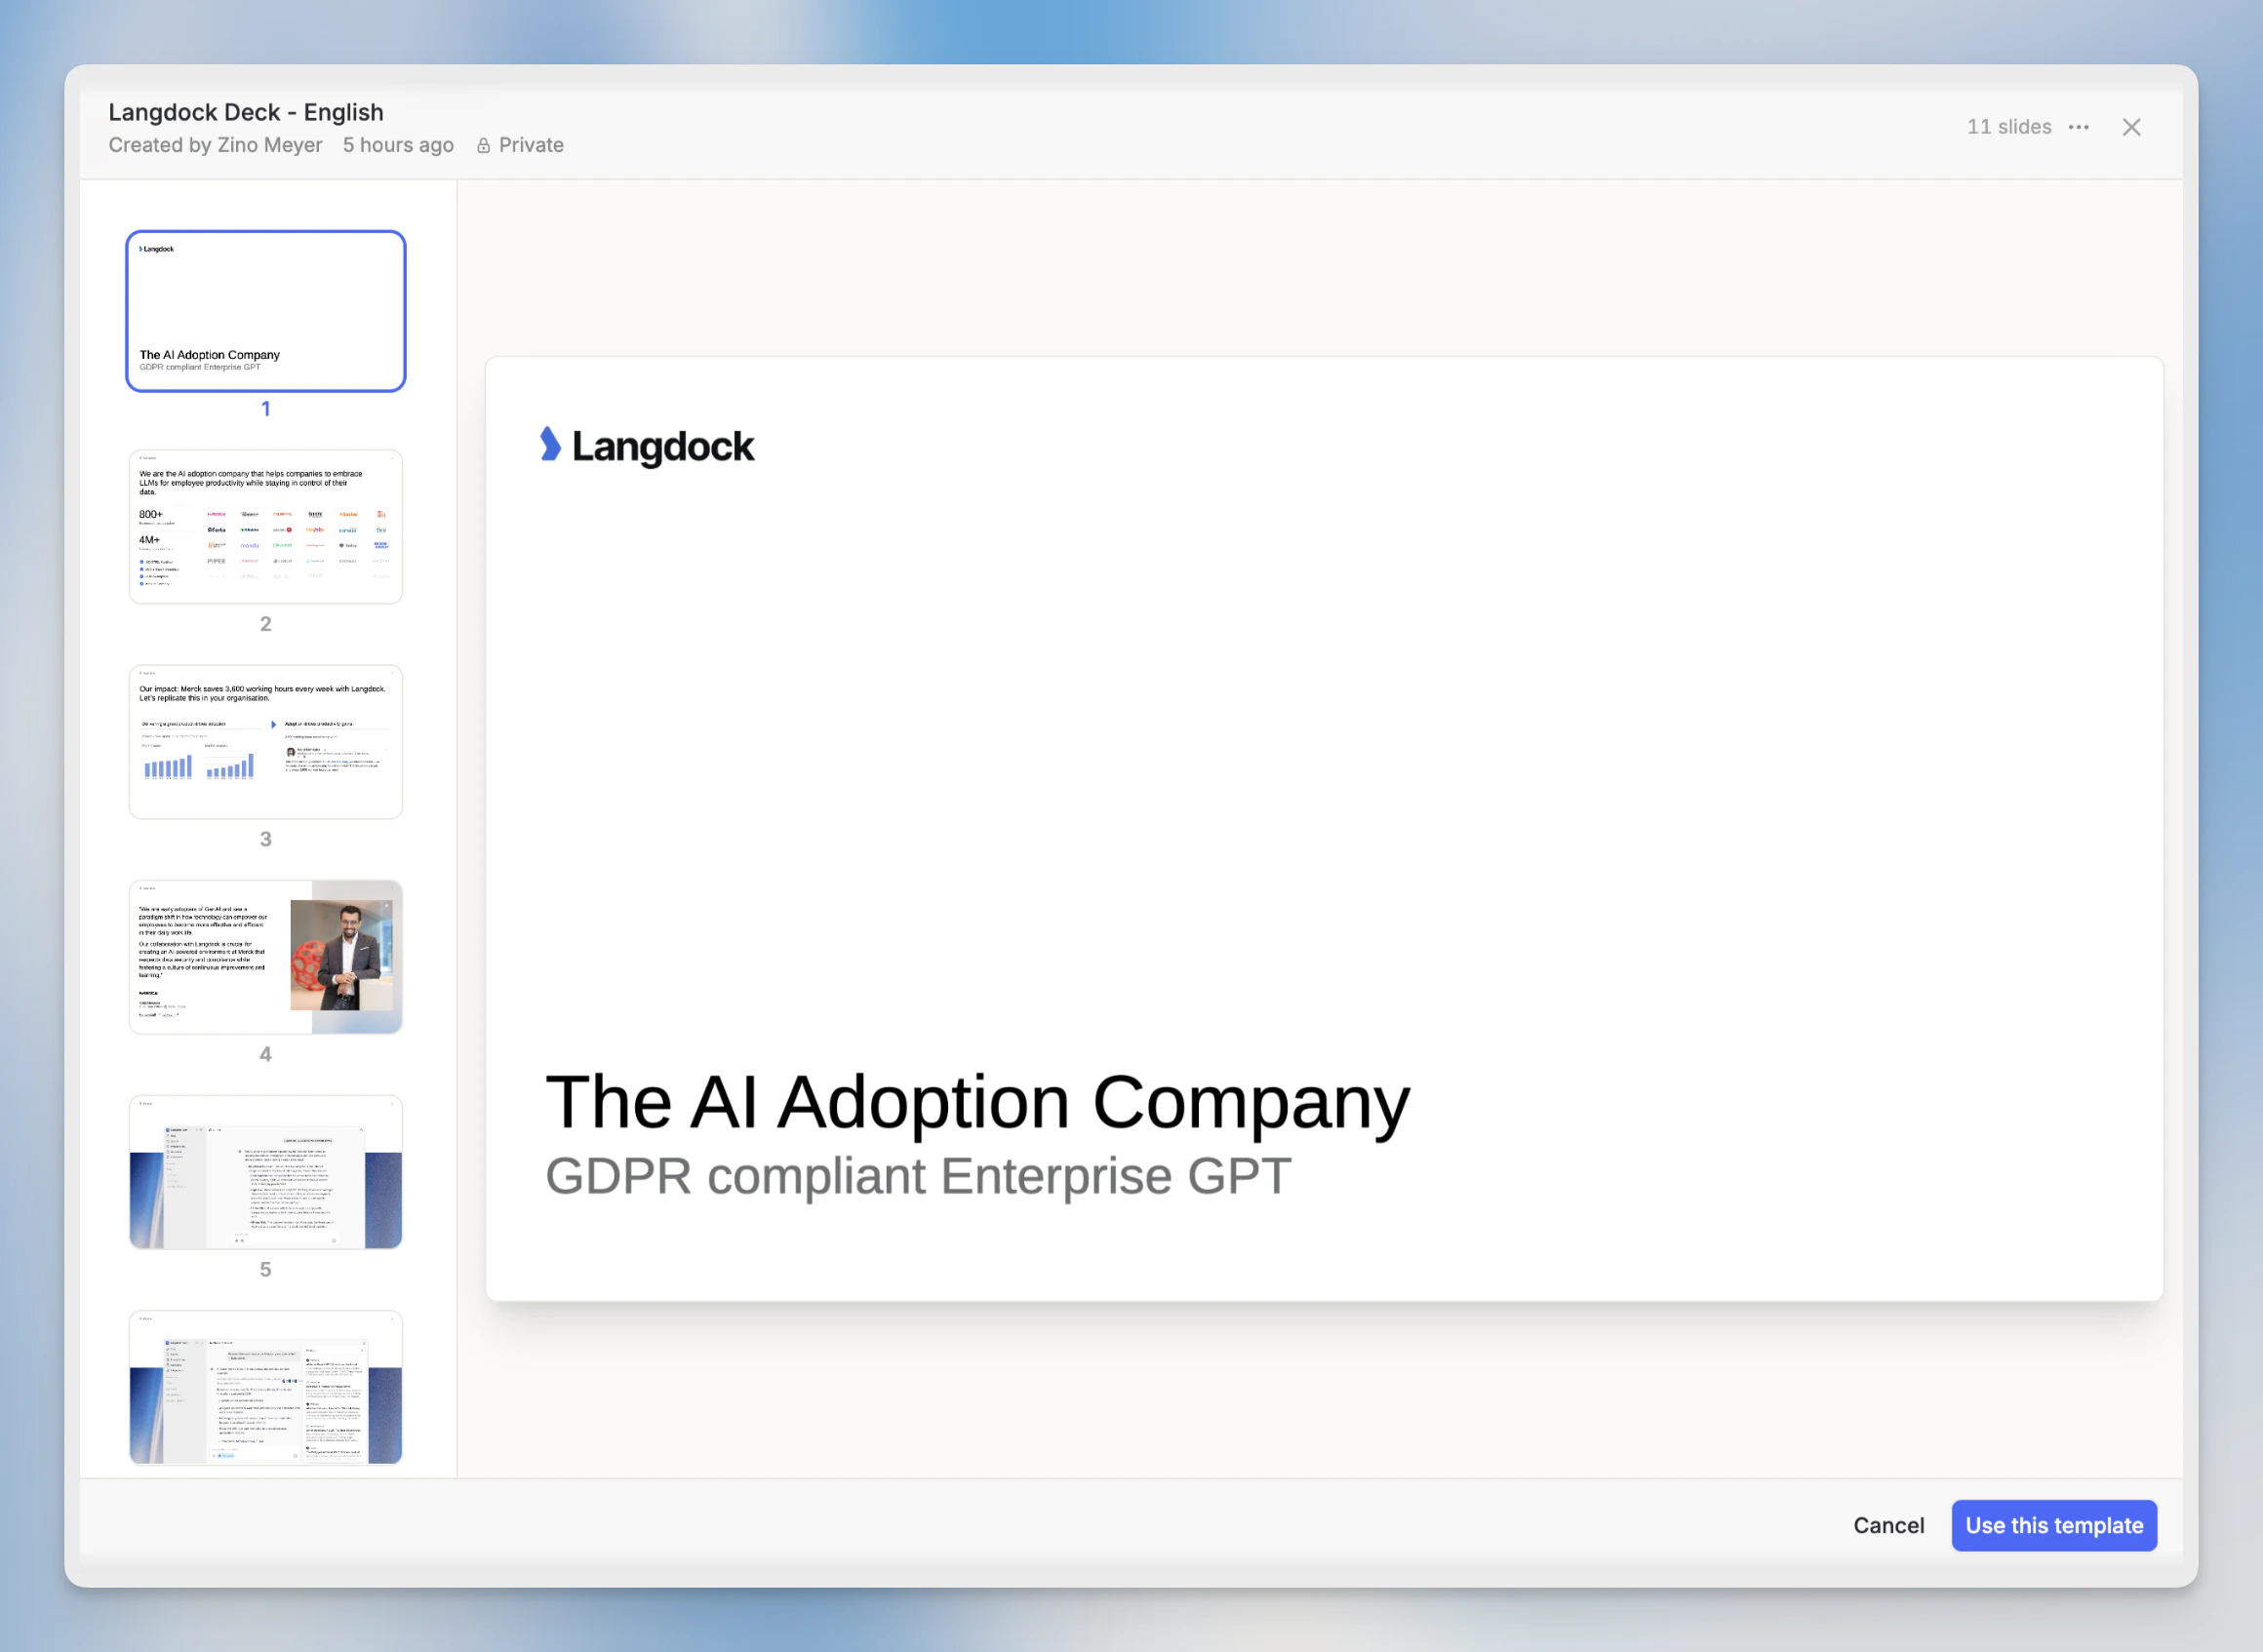
Using a template
Click Use Template in the preview to open a new chat with the template already attached. Langdock will use the template’s format and style when generating your file.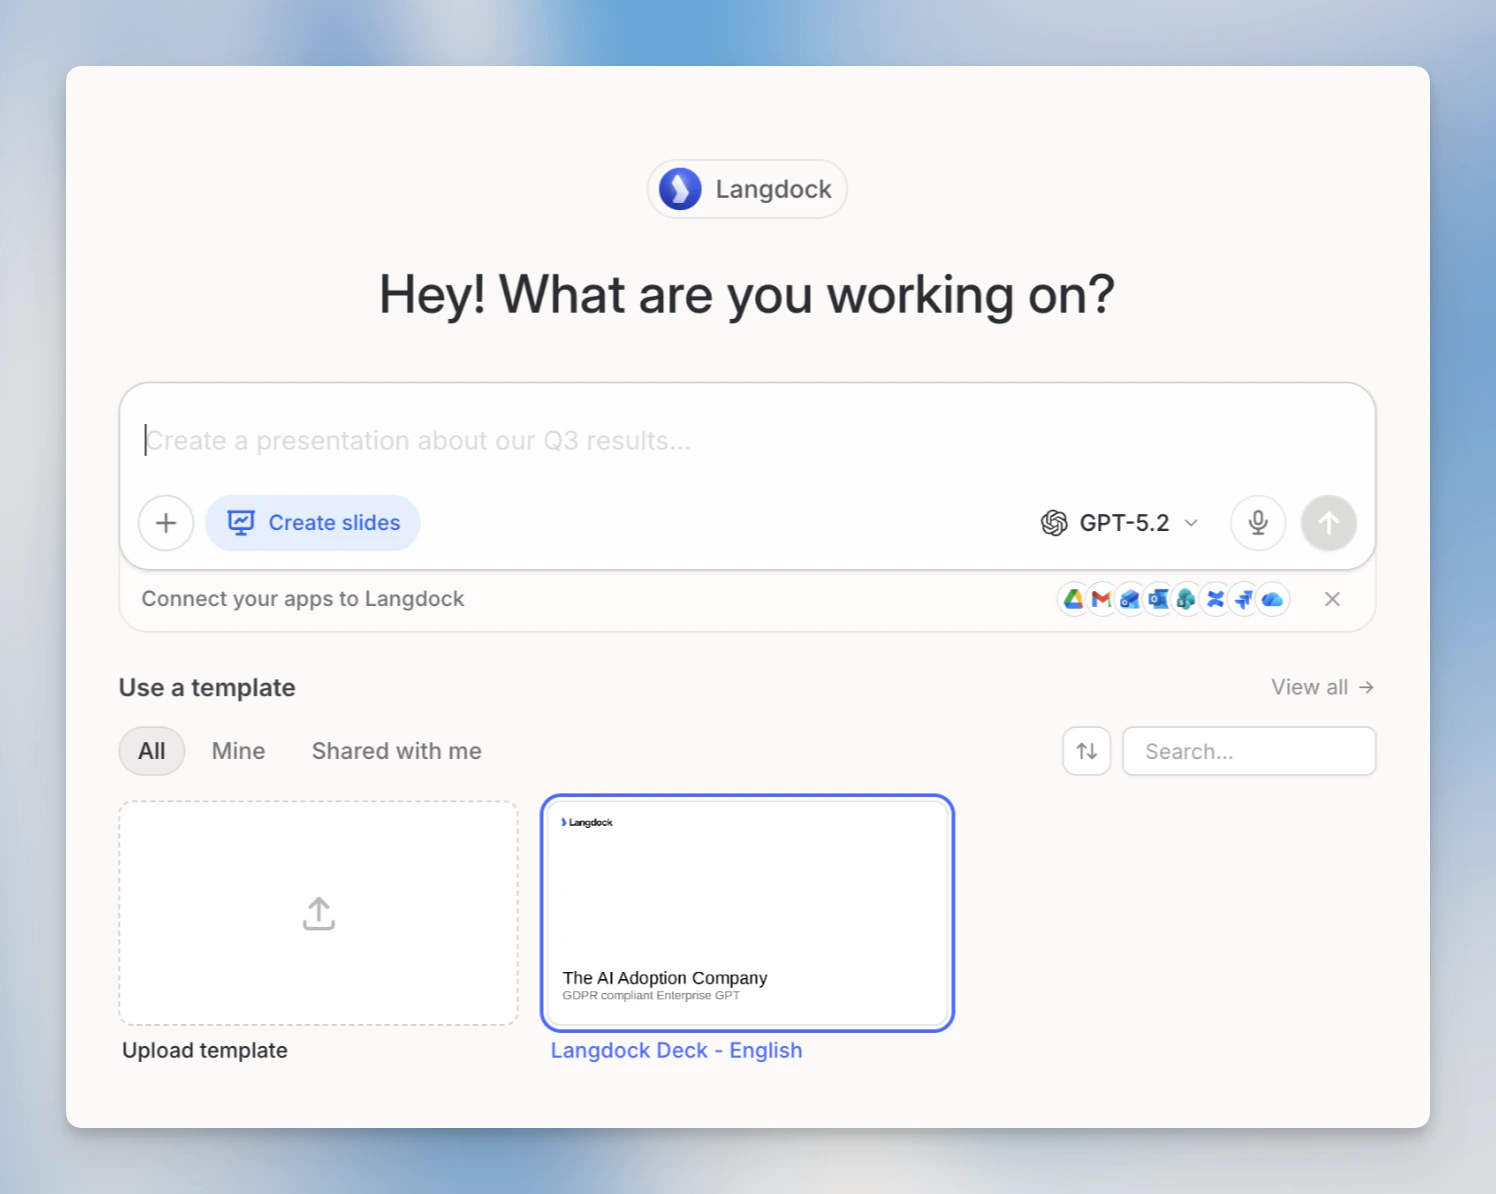
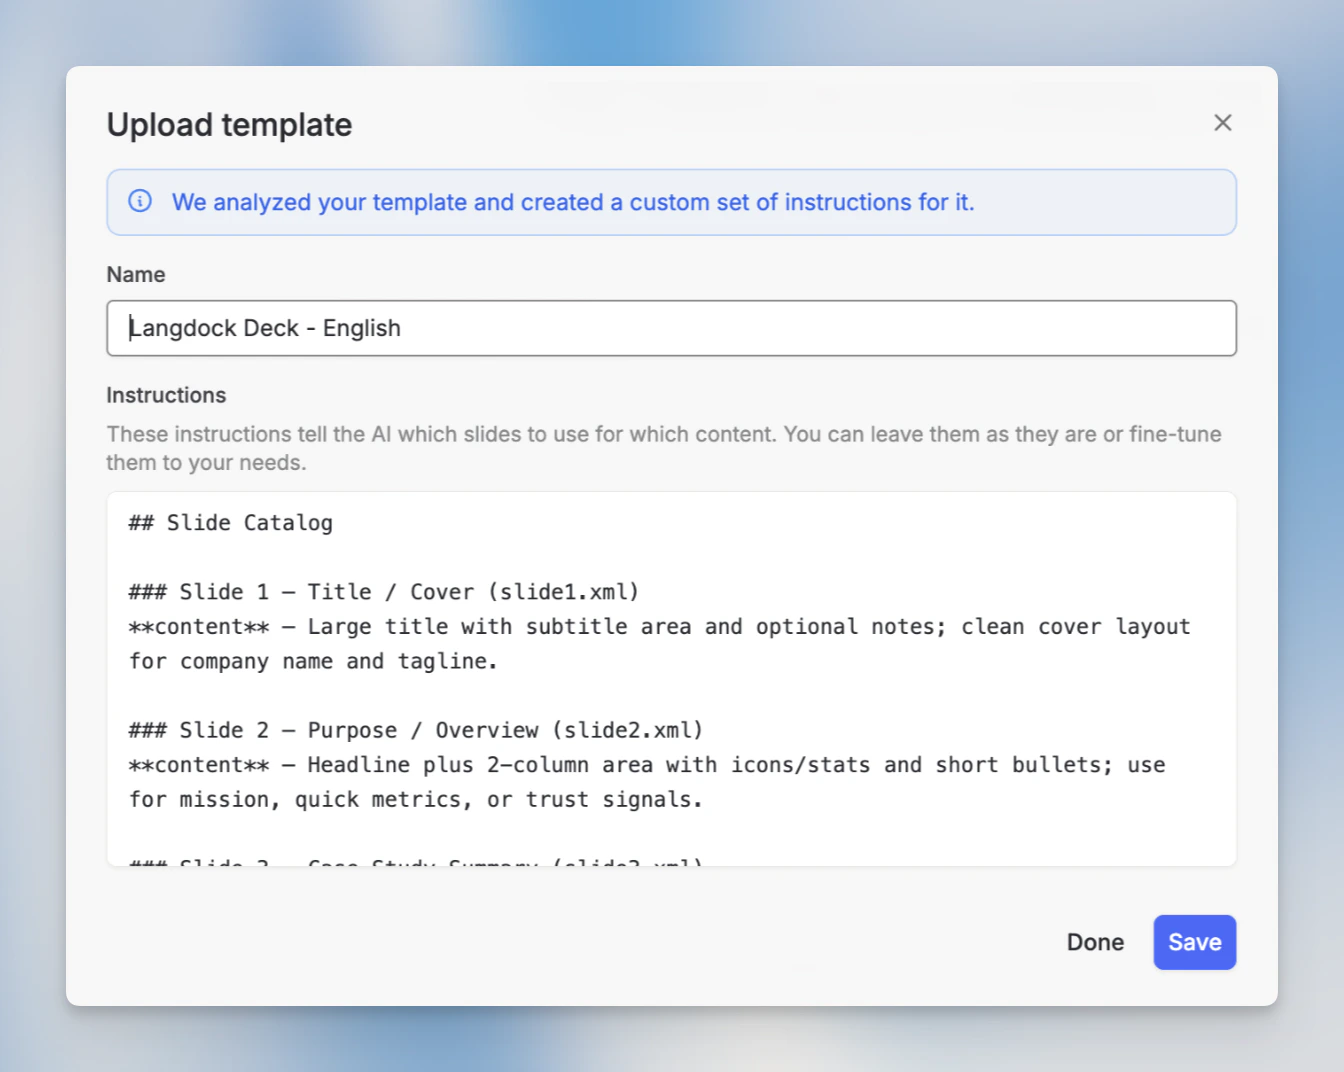
Uploading a template
Open the template gallery
In the Library, click All templates to open the gallery, then click the + button (Add template). You can also drag and drop a file directly onto the gallery dialog.
Upload your file
You have two ways to provide the file:
- From your computer: select a file directly. Supported formats:
.pptx,.ppt,.potx,.docx,.dotx,.pdf(max 100 MB). - From a connected integration: import from Google Drive, OneDrive, or another connected source using the integration picker in the upload dialog.
Wait for analysis
Langdock analyzes the file to extract a suggested name and description. This takes a moment. You’ll see a progress indicator while it runs.
Managing templates
Each template card has a context menu with the following actions:| Action | What it does |
|---|---|
| Edit | Change the template name and instructions |
| Share | Share with specific users or groups |
| Download | Download the original file |
| Delete | Remove the template permanently |
Sharing templates
You can share a template with individual users or groups in your workspace. Open the share dialog from the template card’s context menu, search for users or groups, and confirm.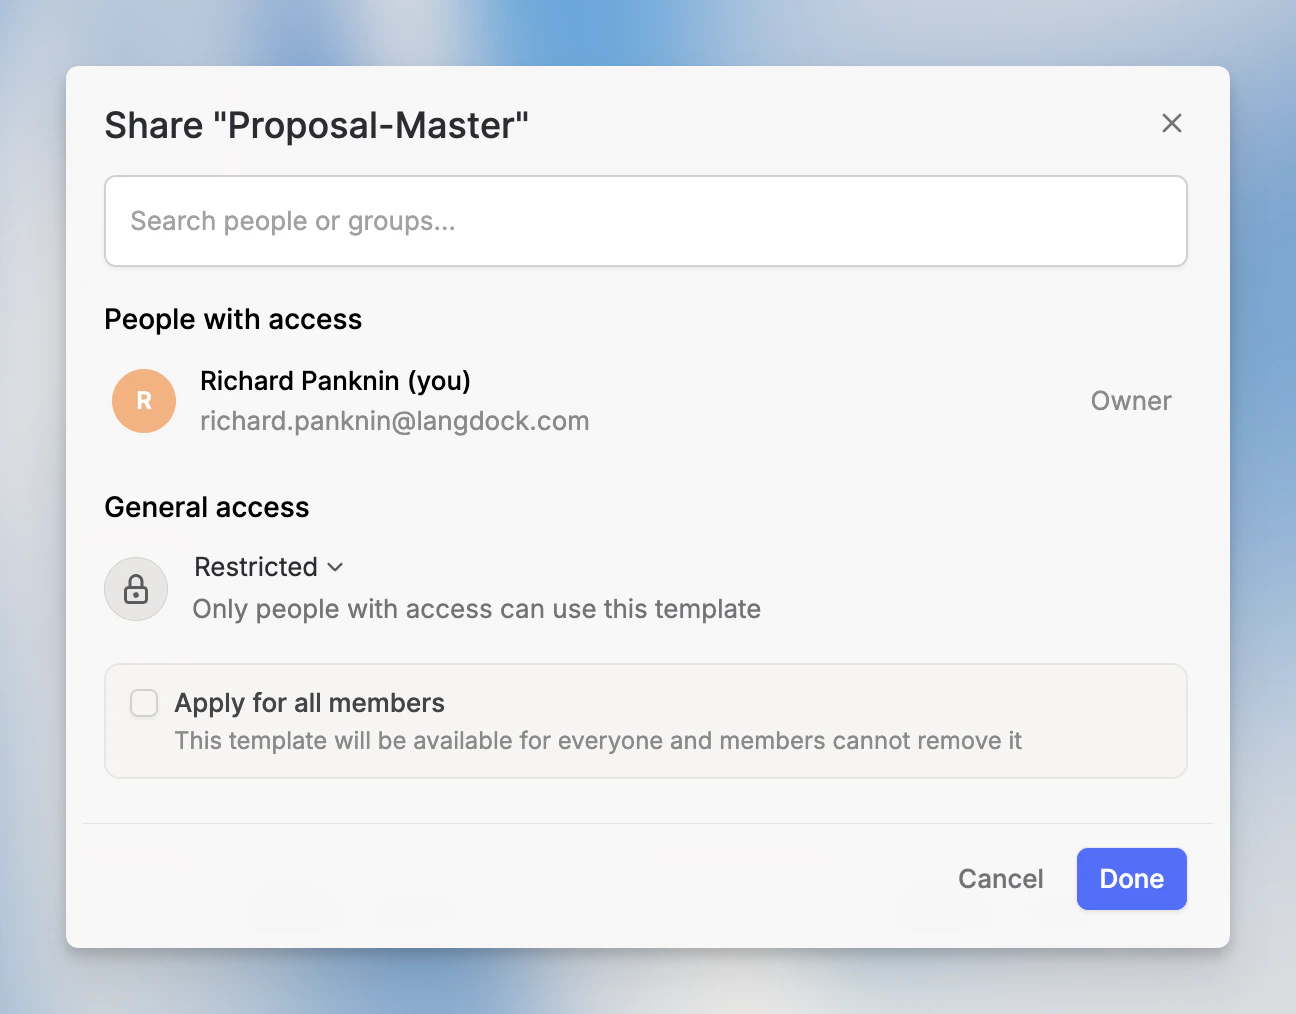
- Share with users and groups: Enabled for everyone by default. Any user can share a template with specific people or groups.
- Promote to workspace: Admin-only by default. Only admins can make a template available to the entire workspace.
Admin: enabling templates
Templates are built on top of Skills and require Skills to be enabled in your workspace. When Skills are disabled, templates will not appear in the Library or in chat. By default, any user can share a template with specific users or groups, but only admins can promote a template to the entire workspace. You can adjust both defaults under User Management → Roles.Go to Settings → Workspace to manage Skills availability for your workspace.